Python Quickstart Async
In this tutorial, we will show you how to integrate Permit.io with your application in just a few simple steps.
Setup your PDP (Policy Decision Point) Container
We provide you with a Policy-Decision-Point - aka an authorization microservice, as a container for you to use. Please follow the steps below to install and run the container on your local machine.
1. Pull our PDP container from Docker Hub
If you do not have Docker installed as of yet, click here to install Docker.
docker pull permitio/pdp-v2:latest
2. Get the Permit.io API key
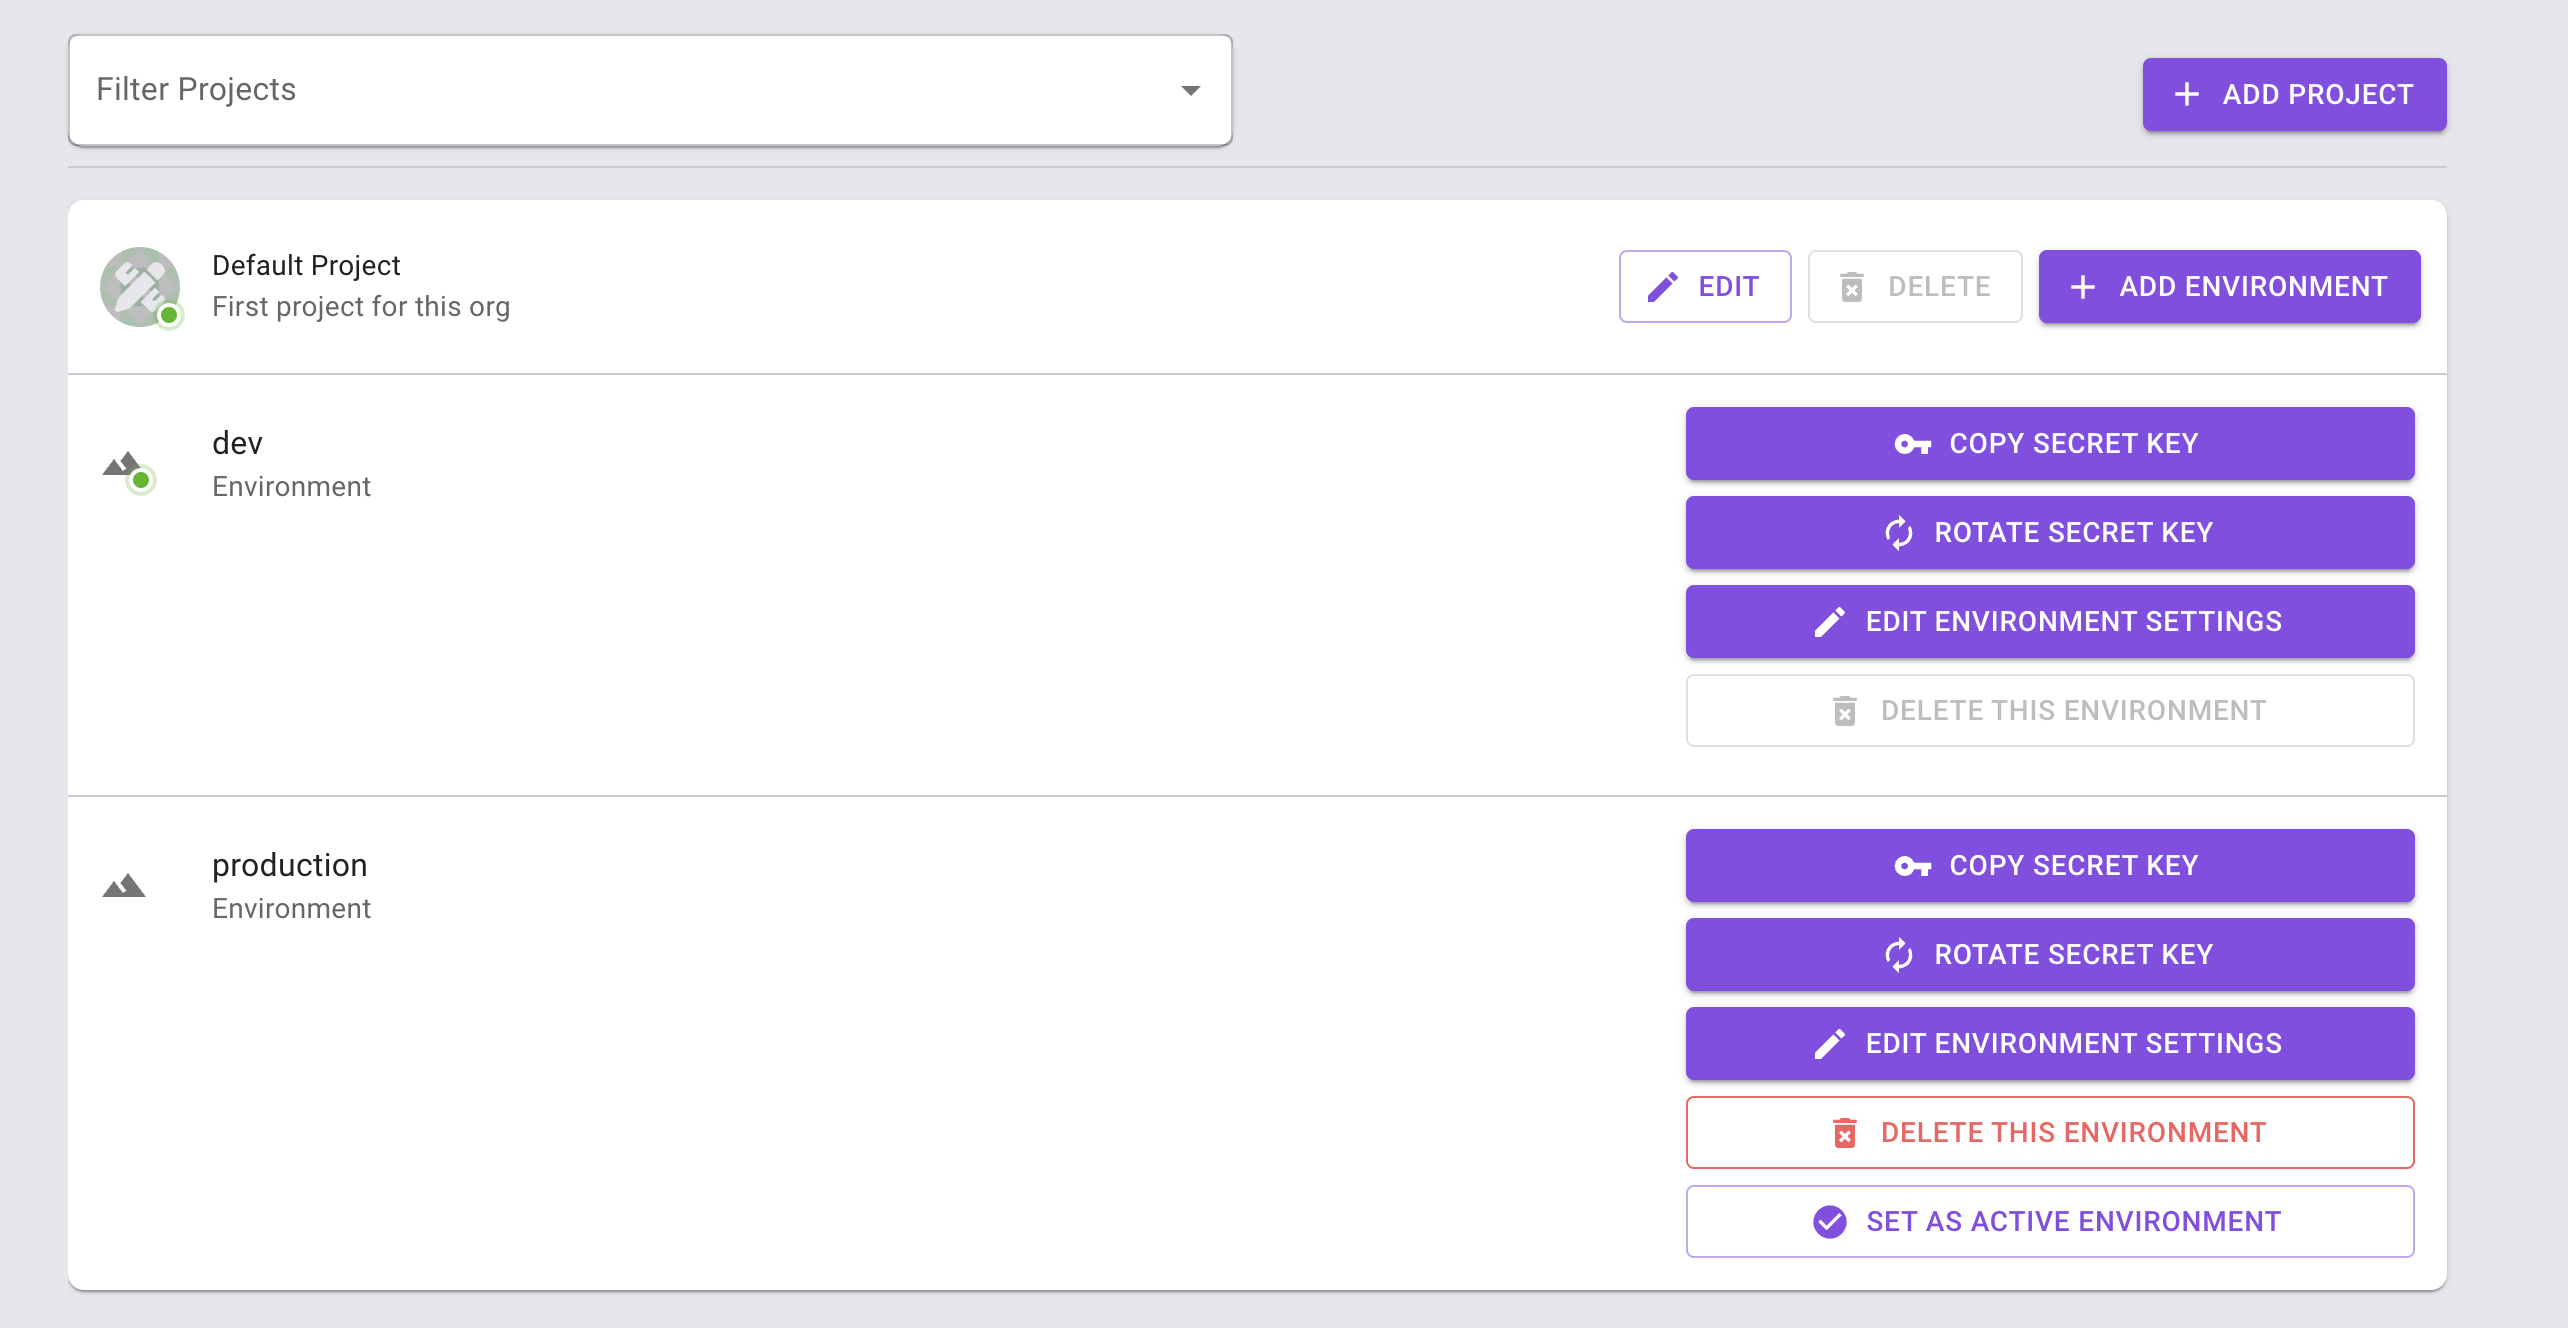
Navigate to the Project Management page with the Permit.io web interface. Find the active environment that is marked with a green dot on the icon. Copy the Secret Key.
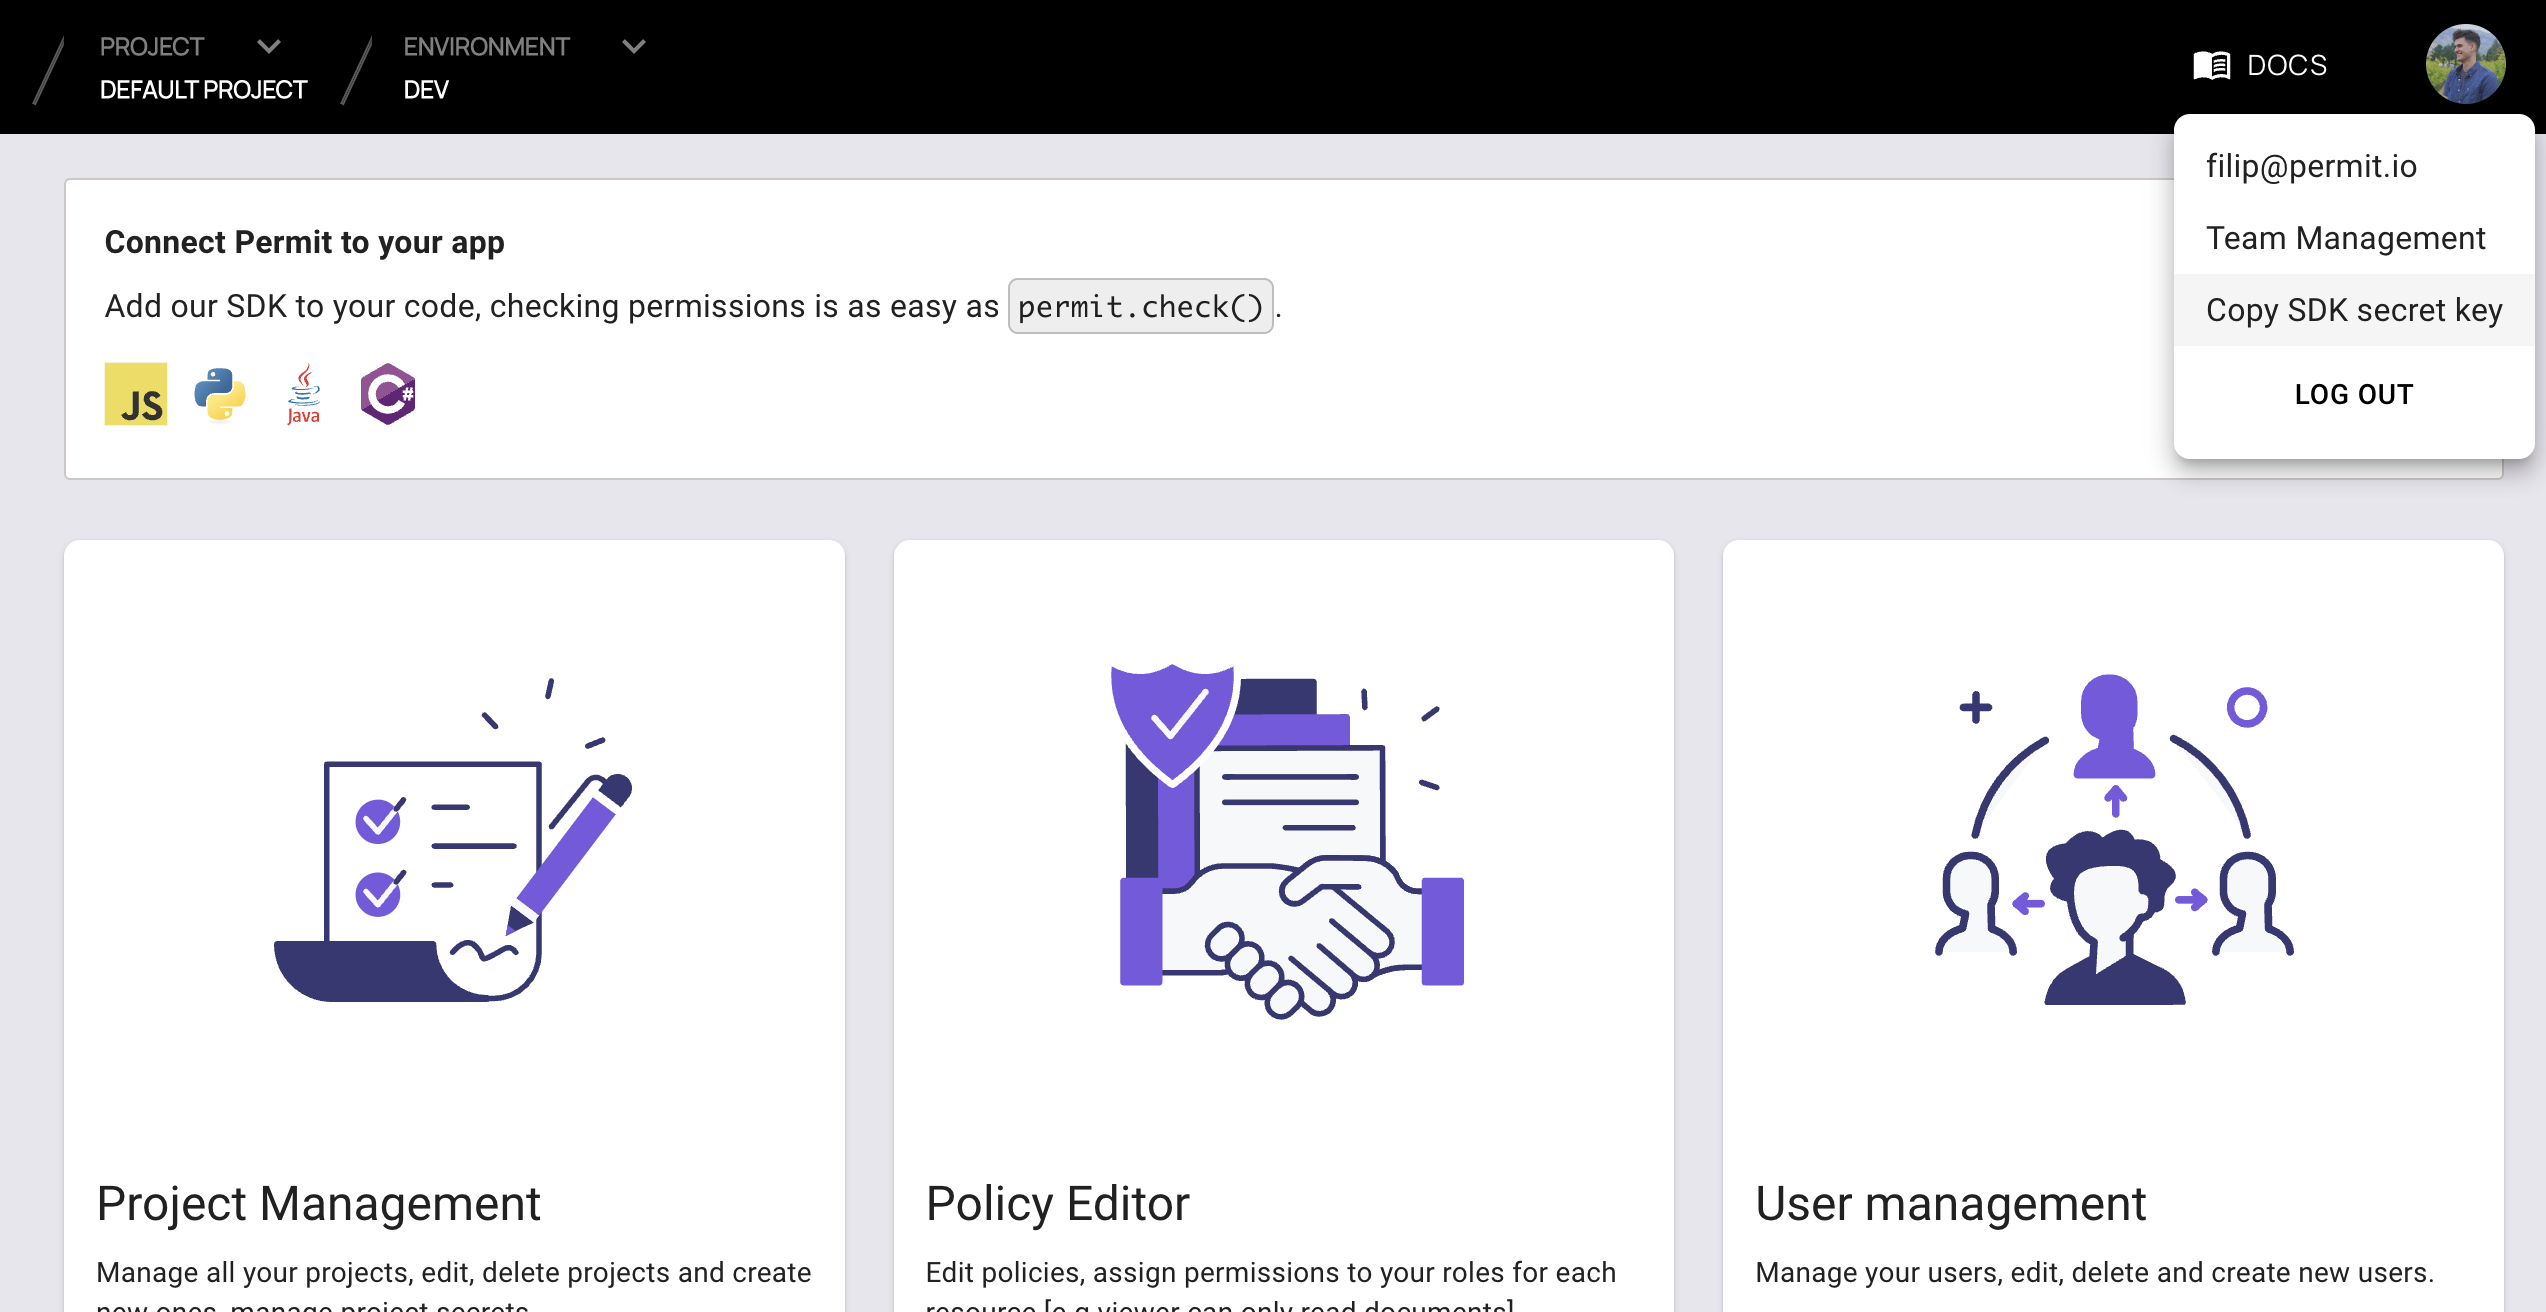
Alternatively, while anyhwere on the Permit.io web interface, click on your user icon in the top right of the screen, and "Copy SDK Secret Key" from there.
3. Run the container
Remember to replace <YOUR_API_KEY> with the Secret Key you have just obtained in the previous step.
docker run -p 7766:7000 --env PDP_API_KEY=<YOUR_API_KEY> permitio/pdp-v2:latest
Congratulations! You should now have a PDP container running. You can always check the status of the container
by typing docker ps in your terminal.
Let's now add the Permit SDK to your app or use the following demo example below.
Add the SDK to your Python code
Initialise the Python SDK and check for permissions.
- Install the Permit.io SDK
pip install permit
- Import the SDK into your code
from permit import Permit
- Create a new instance of the SDK. You can find instructions on getting a secret API key in the previous section.
# This line initializes the SDK and connects your python app
# to the Permit.io PDP container you've set up.
permit = Permit(
    # in production, you might need to change this url to fit your deployment
    pdp="http://localhost:7766",
    # your secret API KEY
    token="<your-api-key>",
)
Check for permissions using the API
You can run a permission check with permit.check(), passing in 3 arguments:
user_id: a unique string id that identifies the user doing the action.action: the action performed.resource: the resource (object) the action is performed on.
In the following example we are checking that a user with the unique id john@smith.com can create a document resource.
permitted = await permit.check("john@smith.com", "create", "document")

if permitted:
    print("John is permitted to create a document")
else:
    print("John is NOT PERMITTED to create document!")
In cases where you are dealing with more than one tenant in your application, permit.check() can pass the tenant as part of the resource.
The tenant passed in needs to be either the tenant id or the tenant key.
You can use the list_tenants API to get the ids and keys set for your tenants.
tenant: a unique tenant id or tenant key that you have defined within Permit.
const permitted = await permit.check("userId", "action", { type: "resource", tenant: "tenant" });
Permission checks are being run against the PDP container that's running locally on your machine - offering minimal latency and without leaving your network.
This means that your user data never goes outside your system, keeping security high.
Full app example
Assuming a Python app made up of a single file, with the permit and FastAPI modules installed.
Create a new directory for your new python project.
mkdir hello-permissions && cd hello-permissions
Optionally, create a new virtual environment for your project - you might need to install pyenv and virtualenv.
pyenv virtualenv permissions && pyenv activate permissions
Now install the Permit.io SDK. We will also install the FastAPI and Uvicorn packages in order to run an HTTP server in our example.
pip install permit==1.0.0rc1 fastapi "uvicorn[standard]"
Create a file called test.py.
touch test.py
Copy the following code inside test.py and replace with your API KEY and user-object.
You can find instructions on getting a secret API Key in the previous section.
import asyncio

from permit import Permit
from fastapi import FastAPI, status, HTTPException
from fastapi.responses import JSONResponse

app = FastAPI()

# This line initializes the SDK and connects your python app
# to the Permit.io PDP container you've set up in the previous step.
permit = Permit(
    # in production, you might need to change this url to fit your deployment
    pdp="http://localhost:7766",
    # your API KEY
    token="[YOUR_API_KEY]",
)

# This user was defined by you in the previous step and
# is already assigned with a role in the permission system.
user = {
    "key": "john@smith.com",
    "firstName": "John",
    "lastName": "Smith",
    "email": "john@smith.com",
} # in a real app, you would typically decode the user id from a JWT token

@app.get("/")
async def check_permissions():
    permitted = await permit.check("john@smith.com", "read", "document")
    if not permitted:
        raise HTTPException(status_code=status.HTTP_403_FORBIDDEN, detail={
            "result": f"{user.get('firstName')} {user.get('lastName')} is NOT PERMITTED to create document!"
        })

    return JSONResponse(status_code=status.HTTP_200_OK, content={
        "result": f"{user.get('firstName')} {user.get('lastName')} is PERMITTED to create document!"
    })
Now that your application is ready, let's run it! Go to your applications localhost live deployment to see the outcome of the permission check.
uvicorn test:app --reload --port=<YOUR_LOCALHOST_PORT_NUMBER>