Building an RBAC Policy
Creating an RBAC Policy is very simple within Permit. Let's run through a simple example that is defined below.
An Administrator within a company can perform all actions on documents
Creating roles
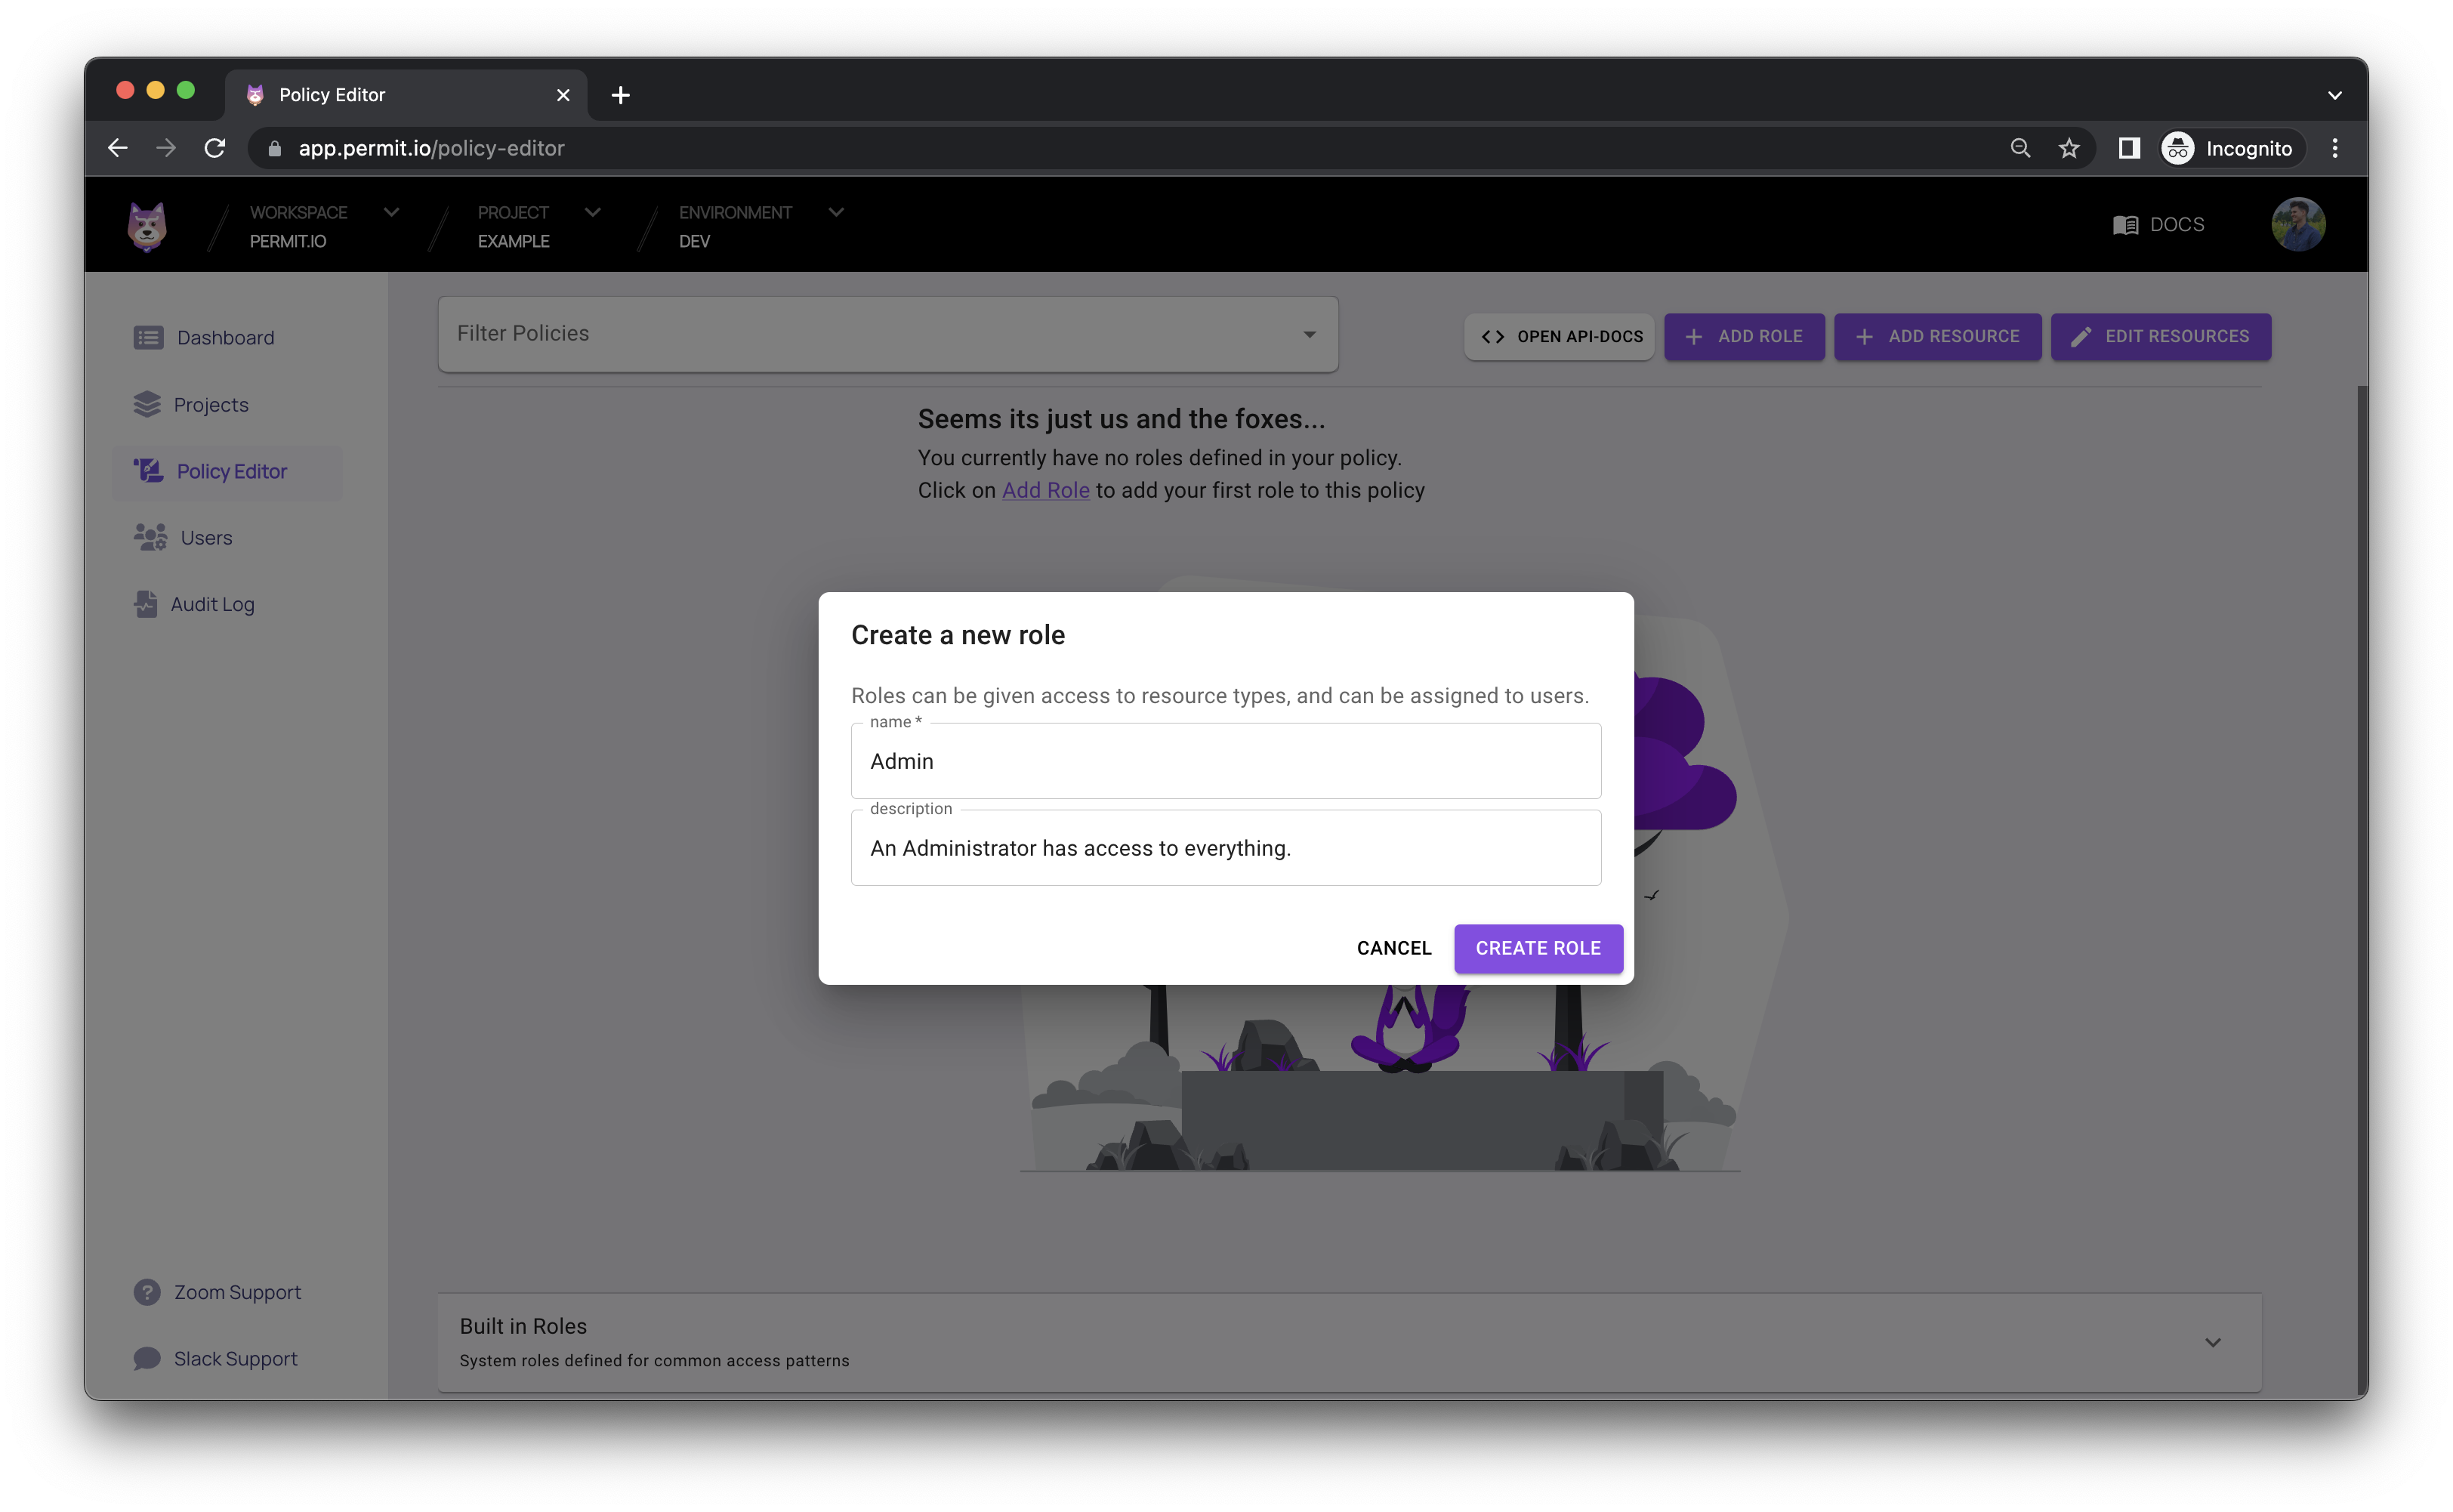
As part of the RBAC Policy, we need to create specific roles that will be assigned specific permissions. We are going to create two roles; an admin and a customer.
Creating the Admin Role within the UI
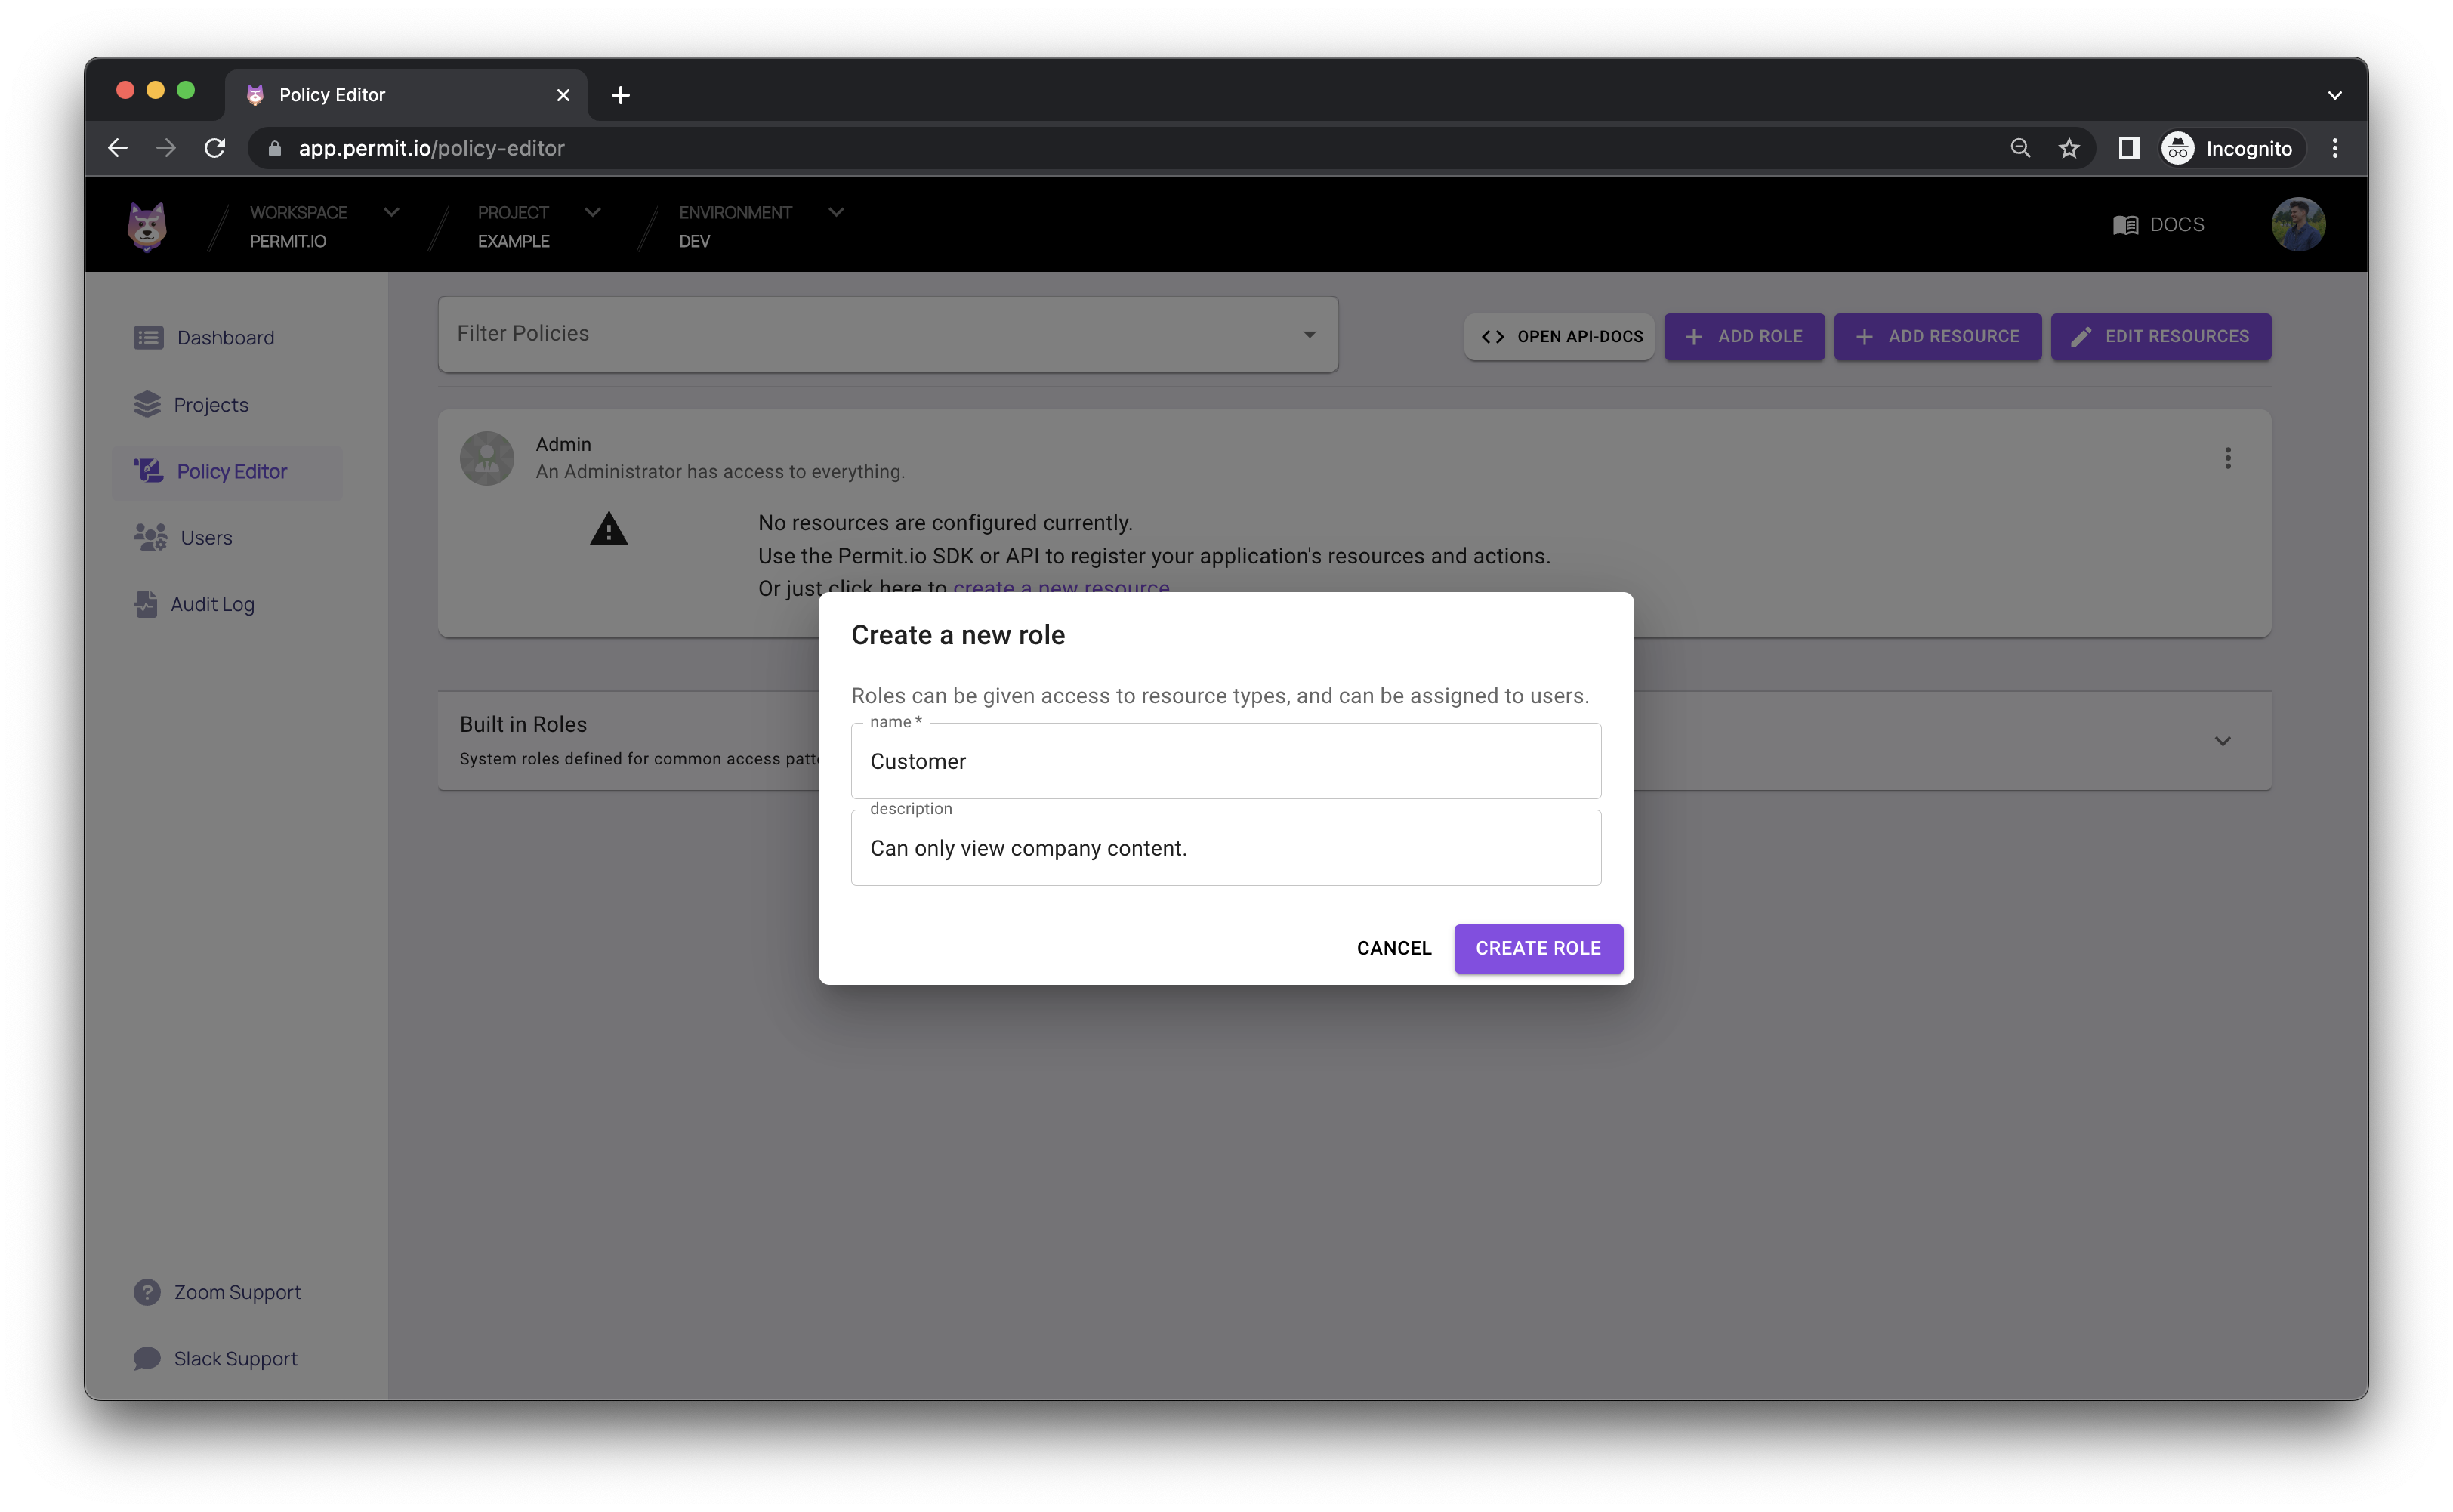
Creating the Customer Role within the UI
Adding a Resource
Once we have established the roles we want within out project, we need to define the resource for the roles. Remember that each created resource becomes available for each role within each project.
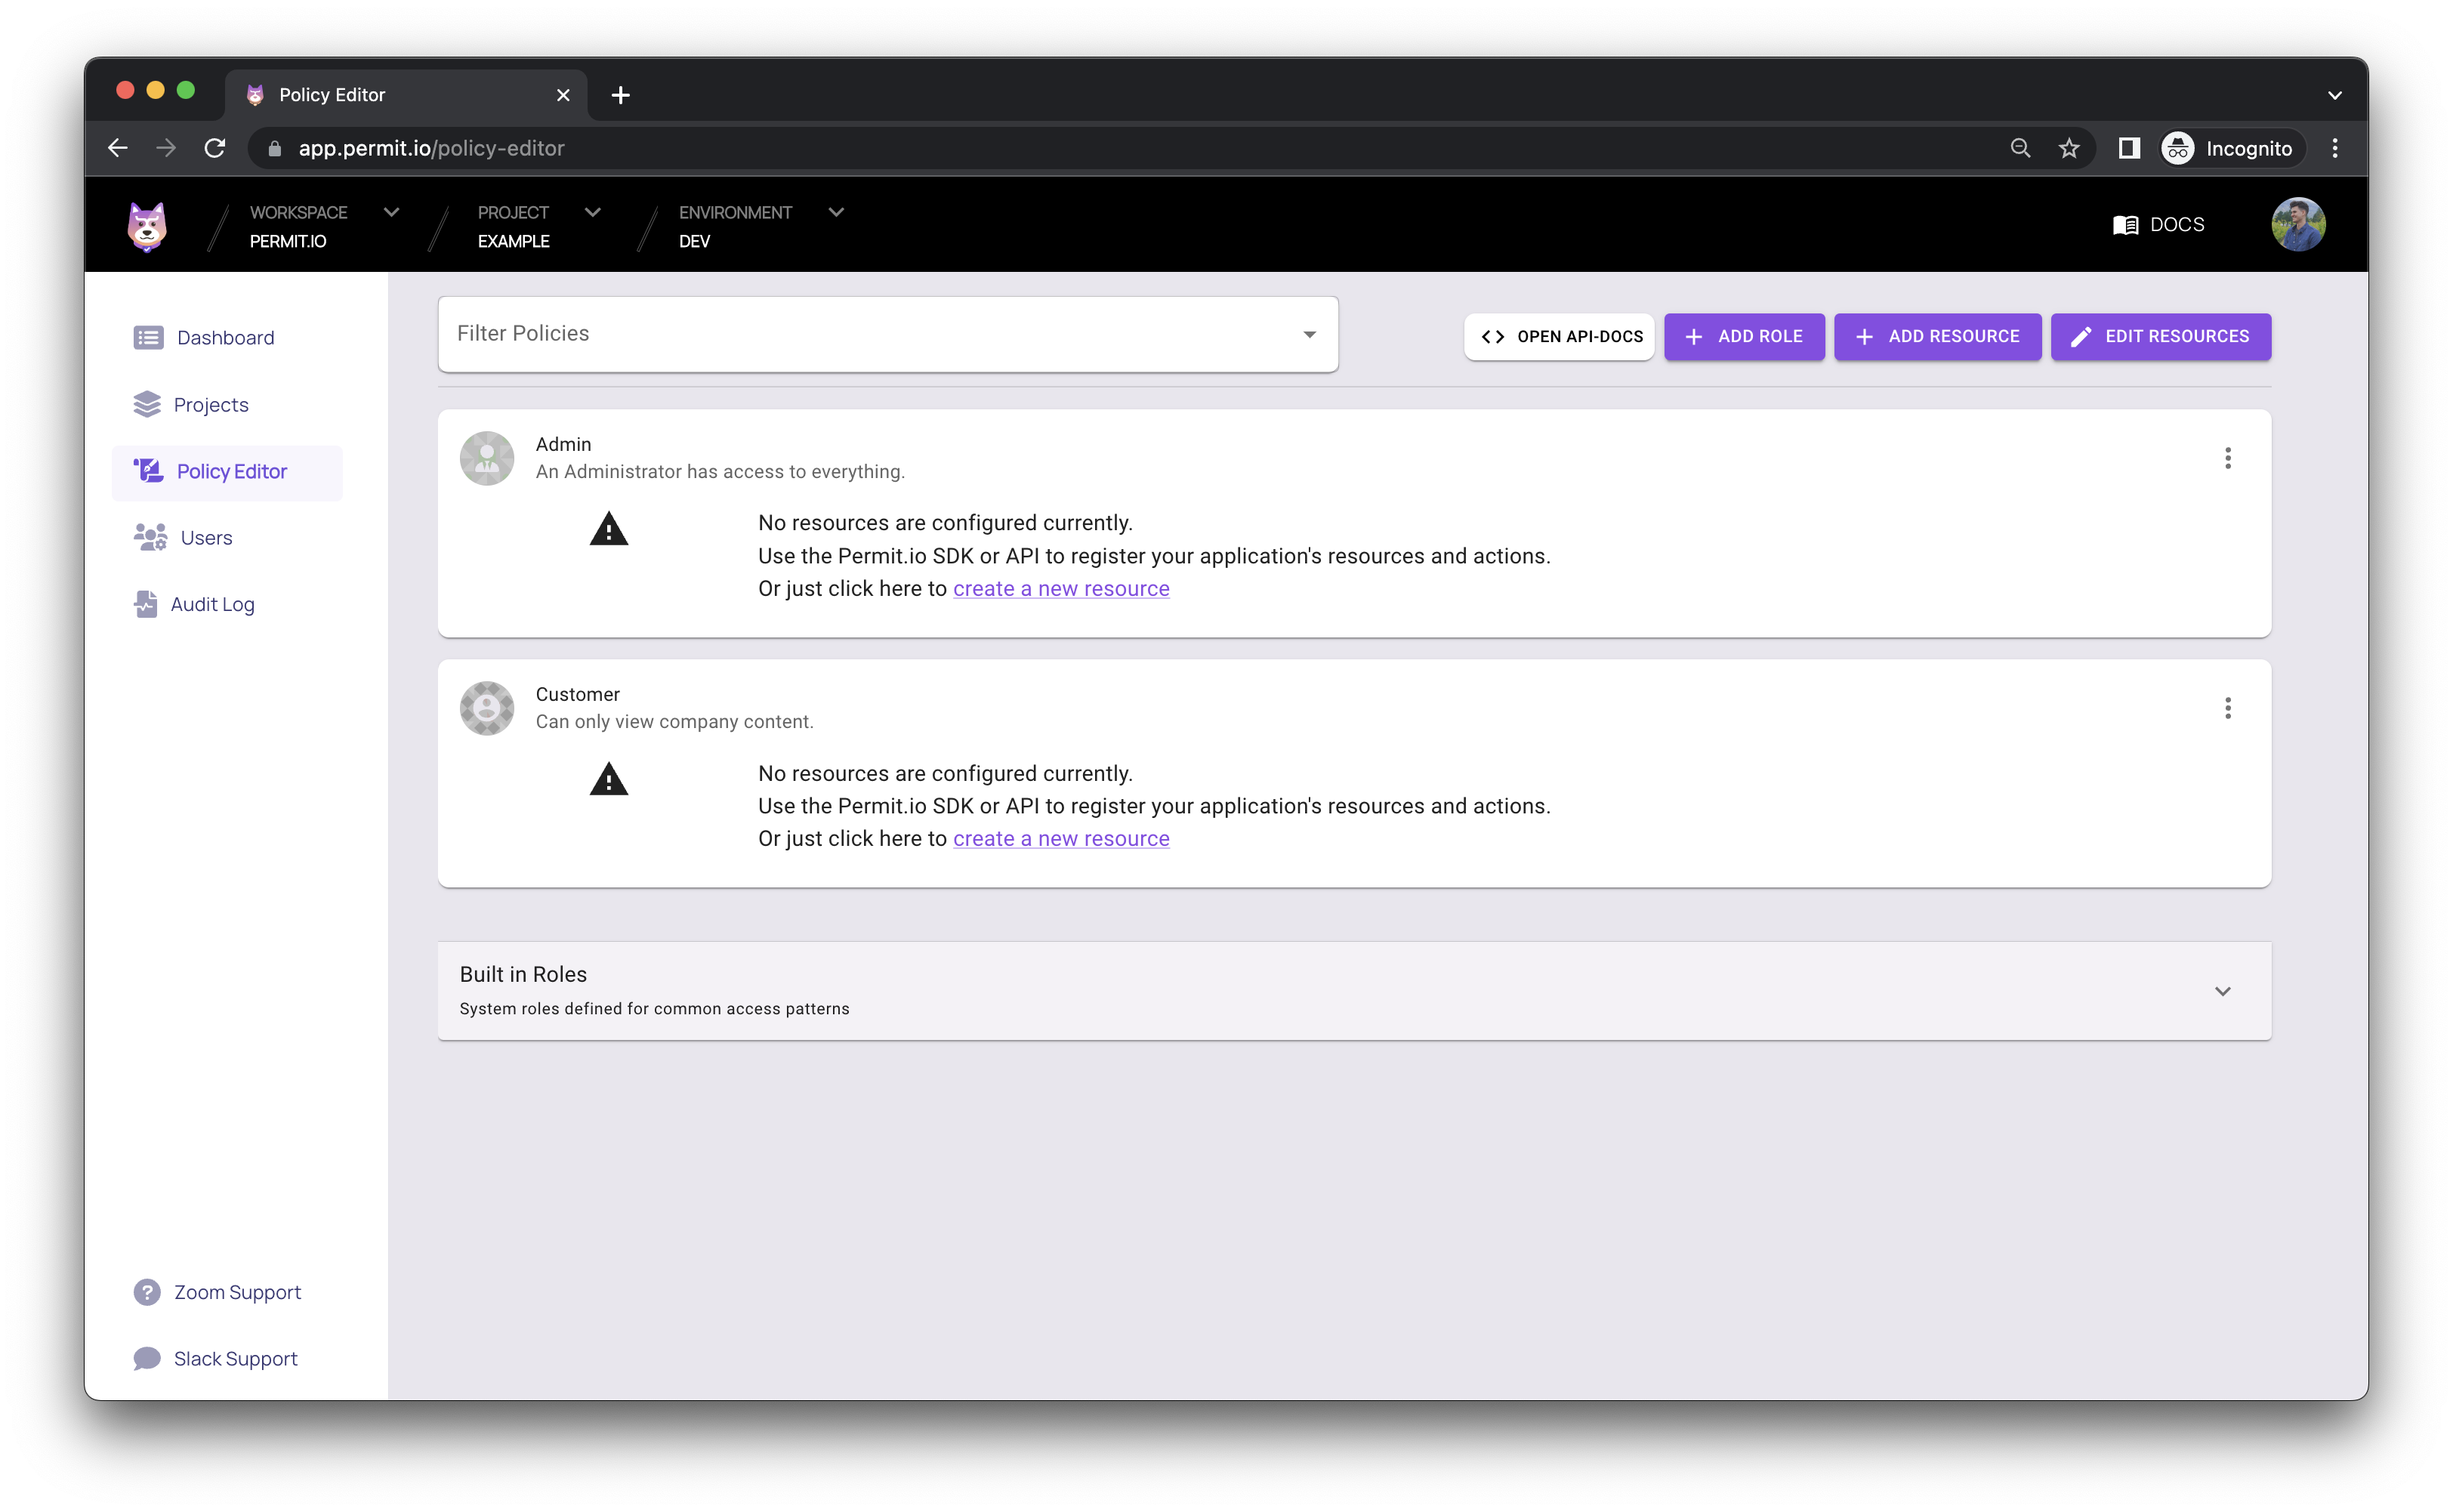
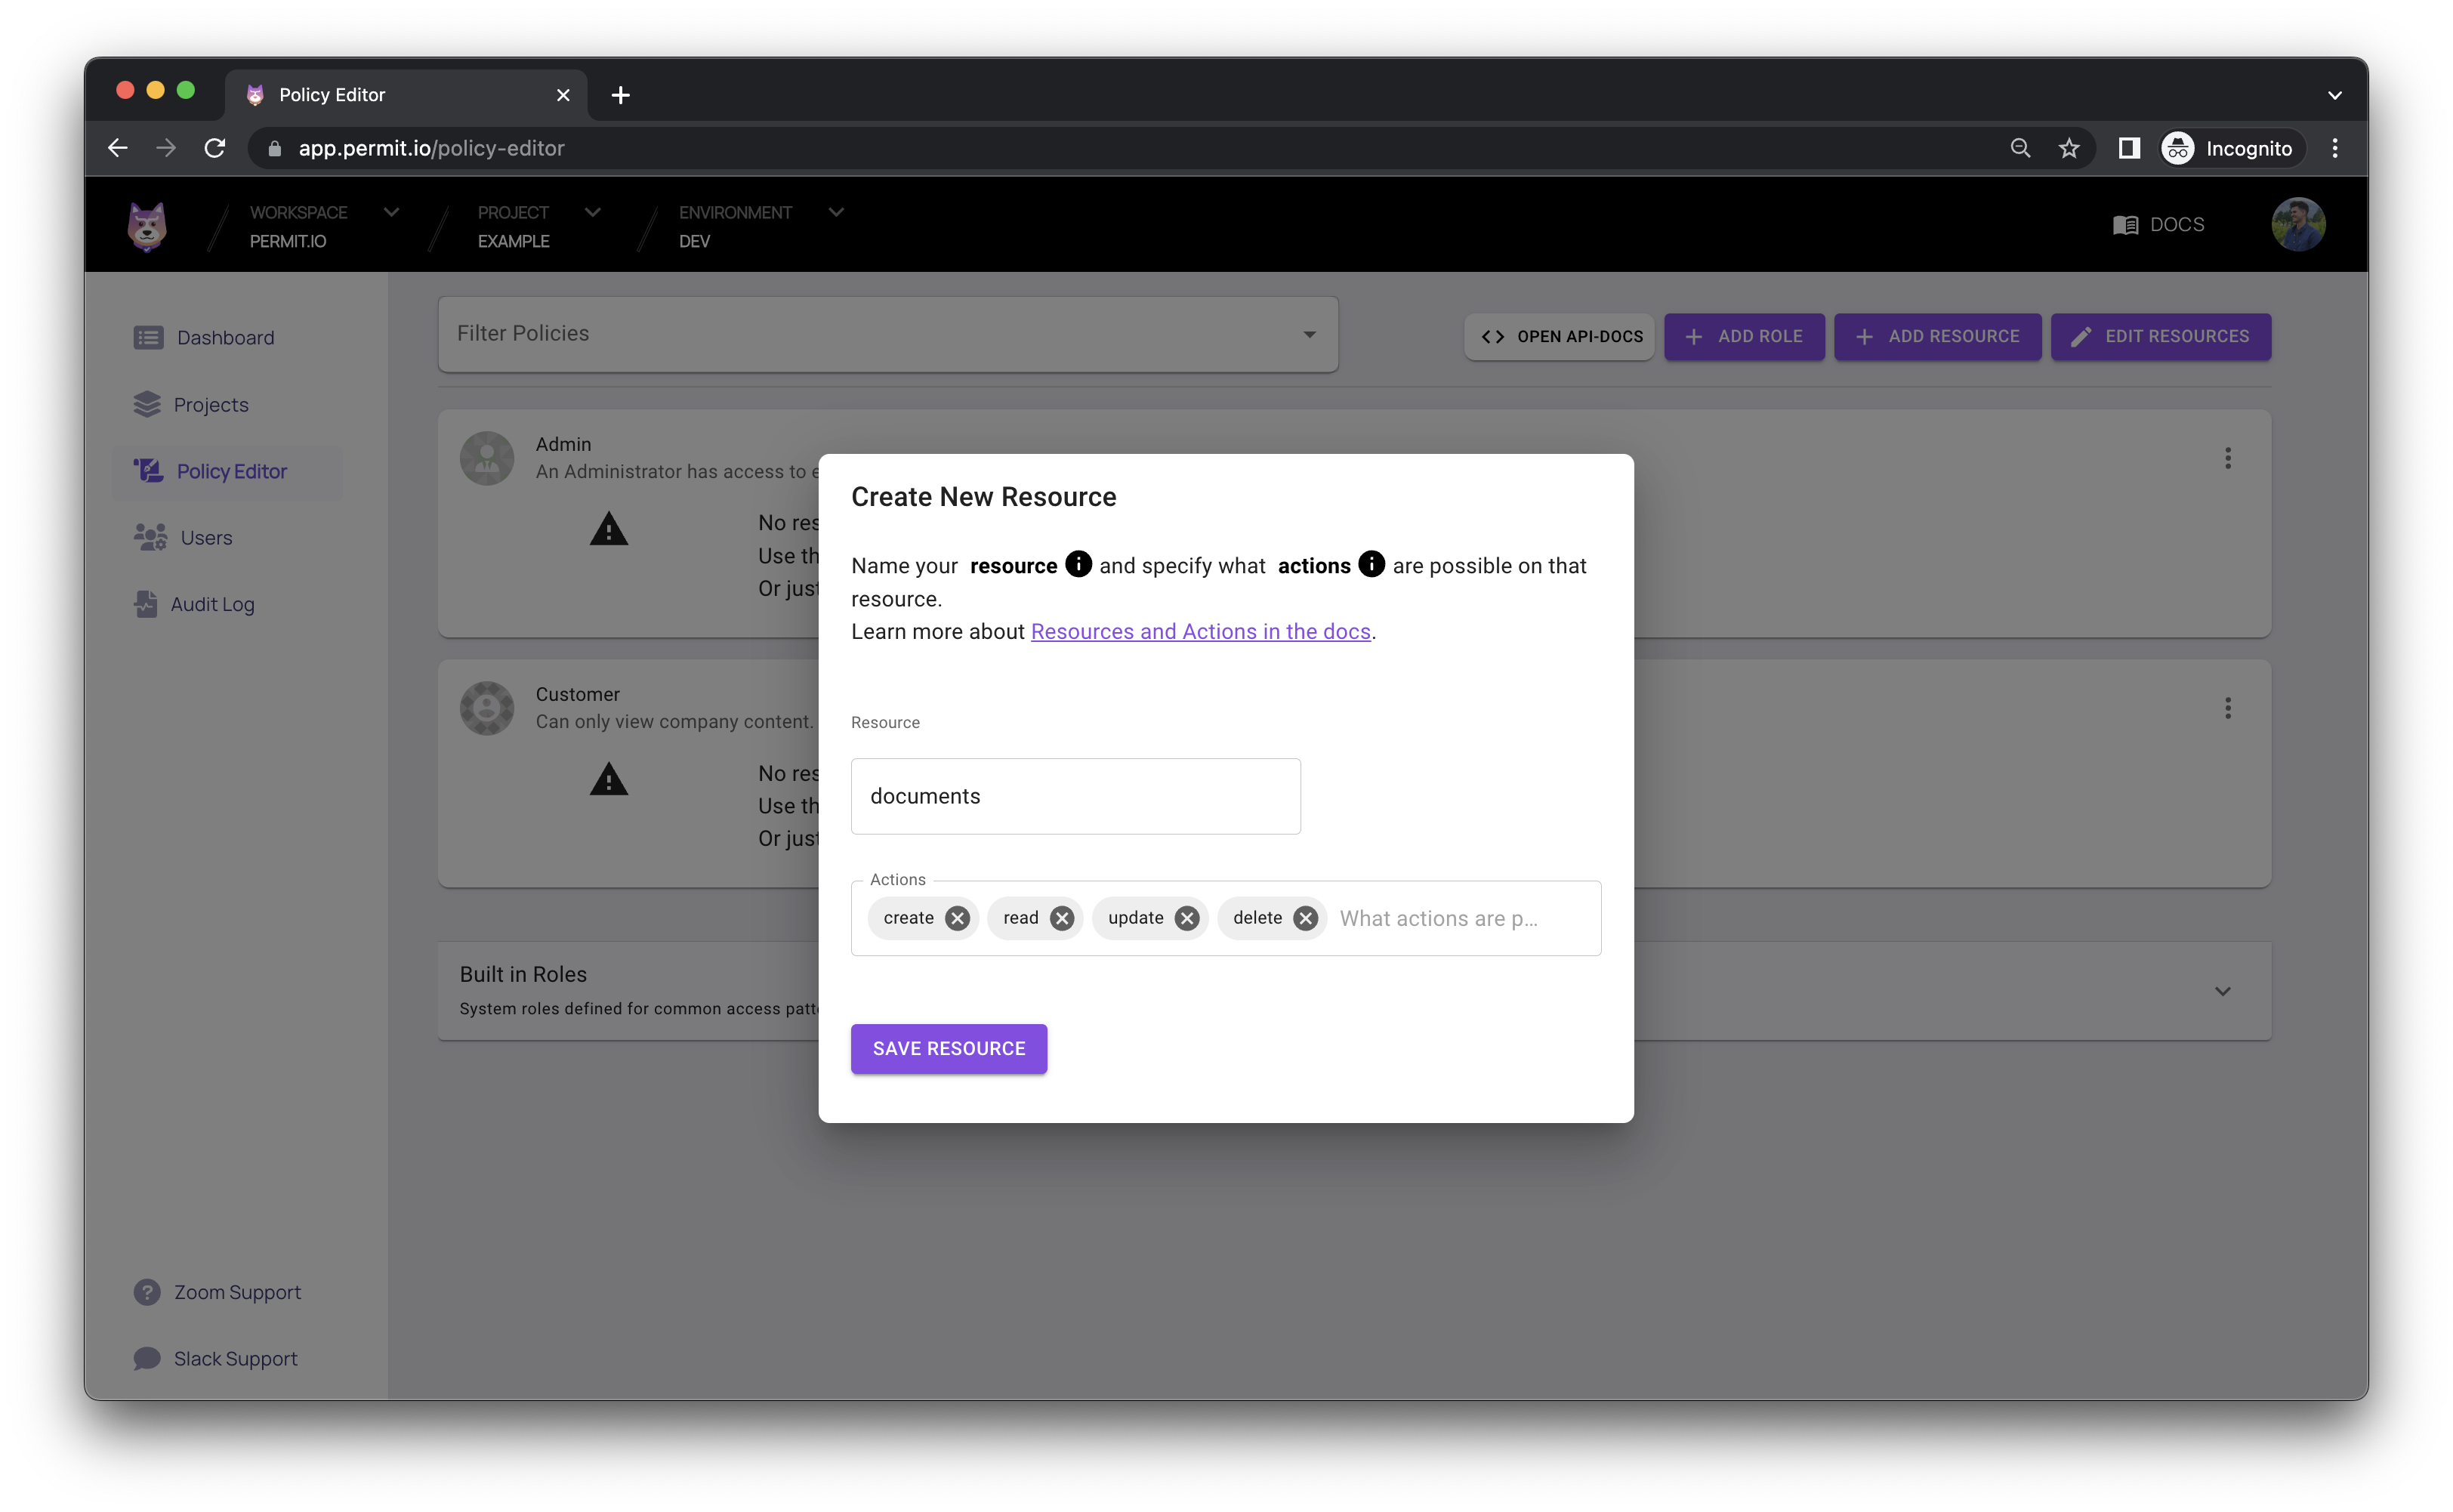
As you can see, we currently have no resources, so lets define a resource called documents. For that specific resource, we need to define the actions that we can perform on the resource. In this case, we can create, read, update and delete documents.
Creating a Resource within the UI
This is what the roles will look like now, with each individual resource defined and the actions that we can select. We are ready give permissions to the role to perform the selected actions on the resource.
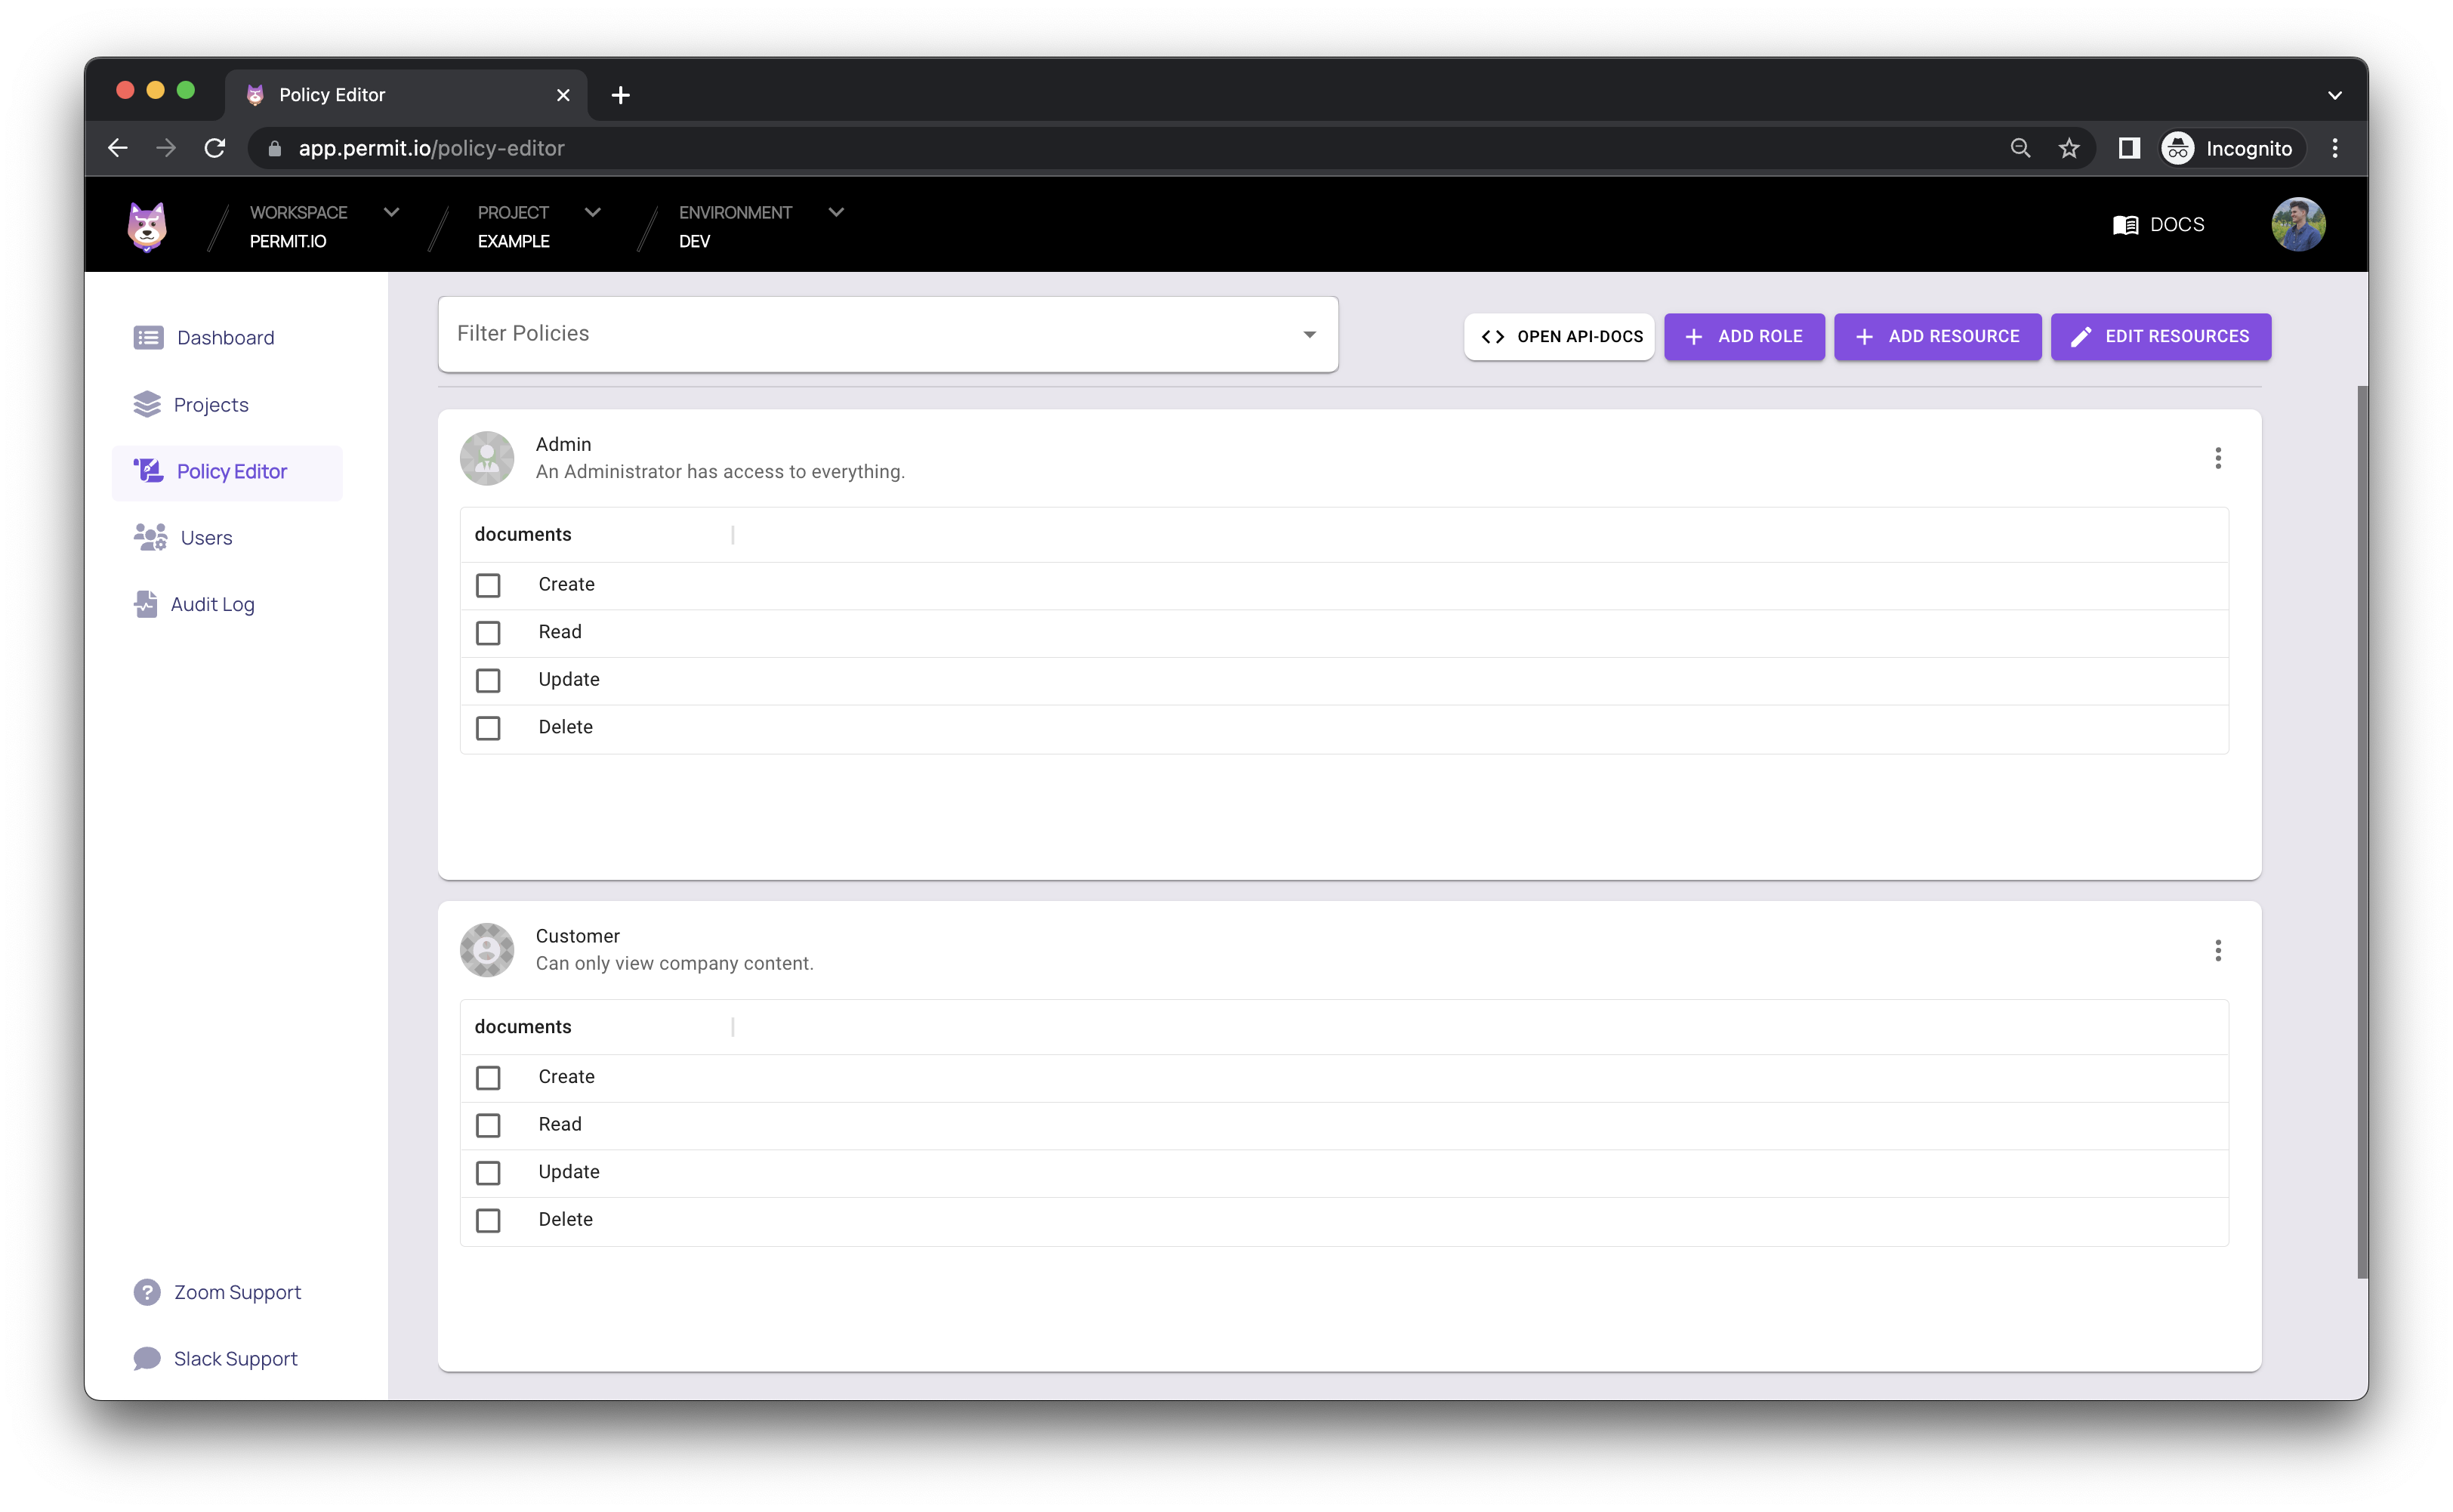
Assigning Permissions to Actions
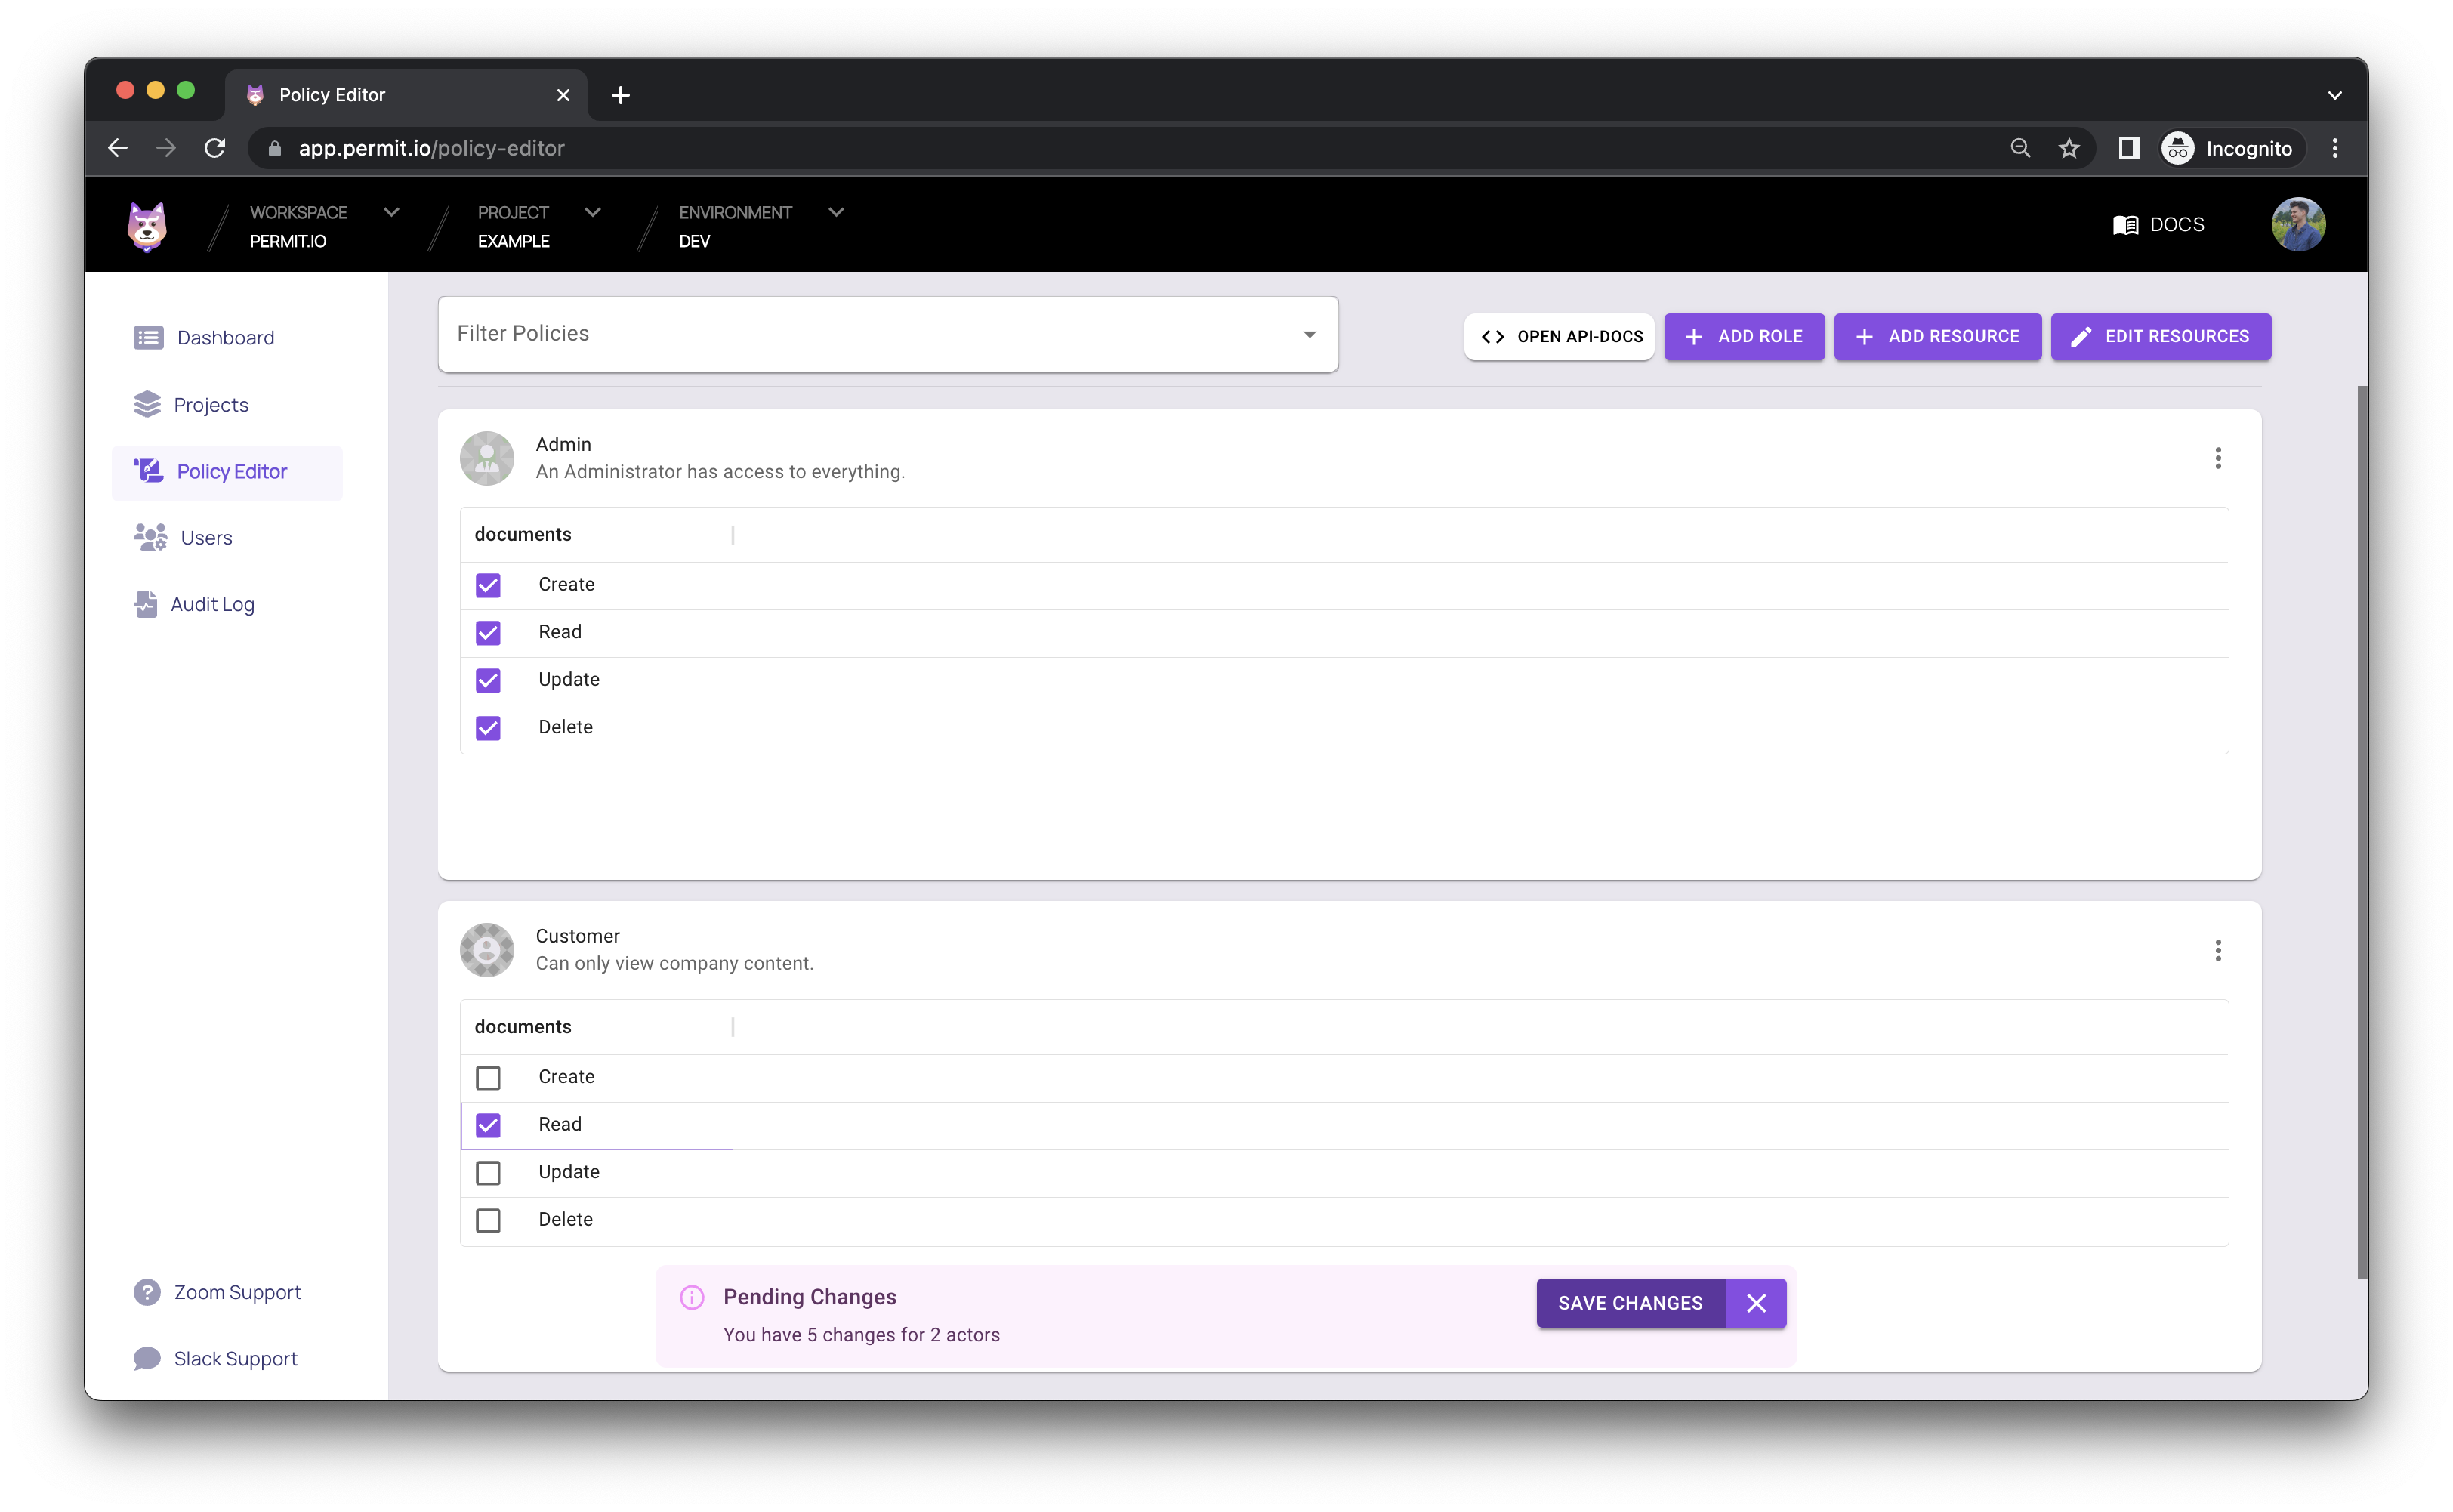
Under each role, we have selected the actions we want to allow that role to perform on the current resource.
Roles with specific selected permissions
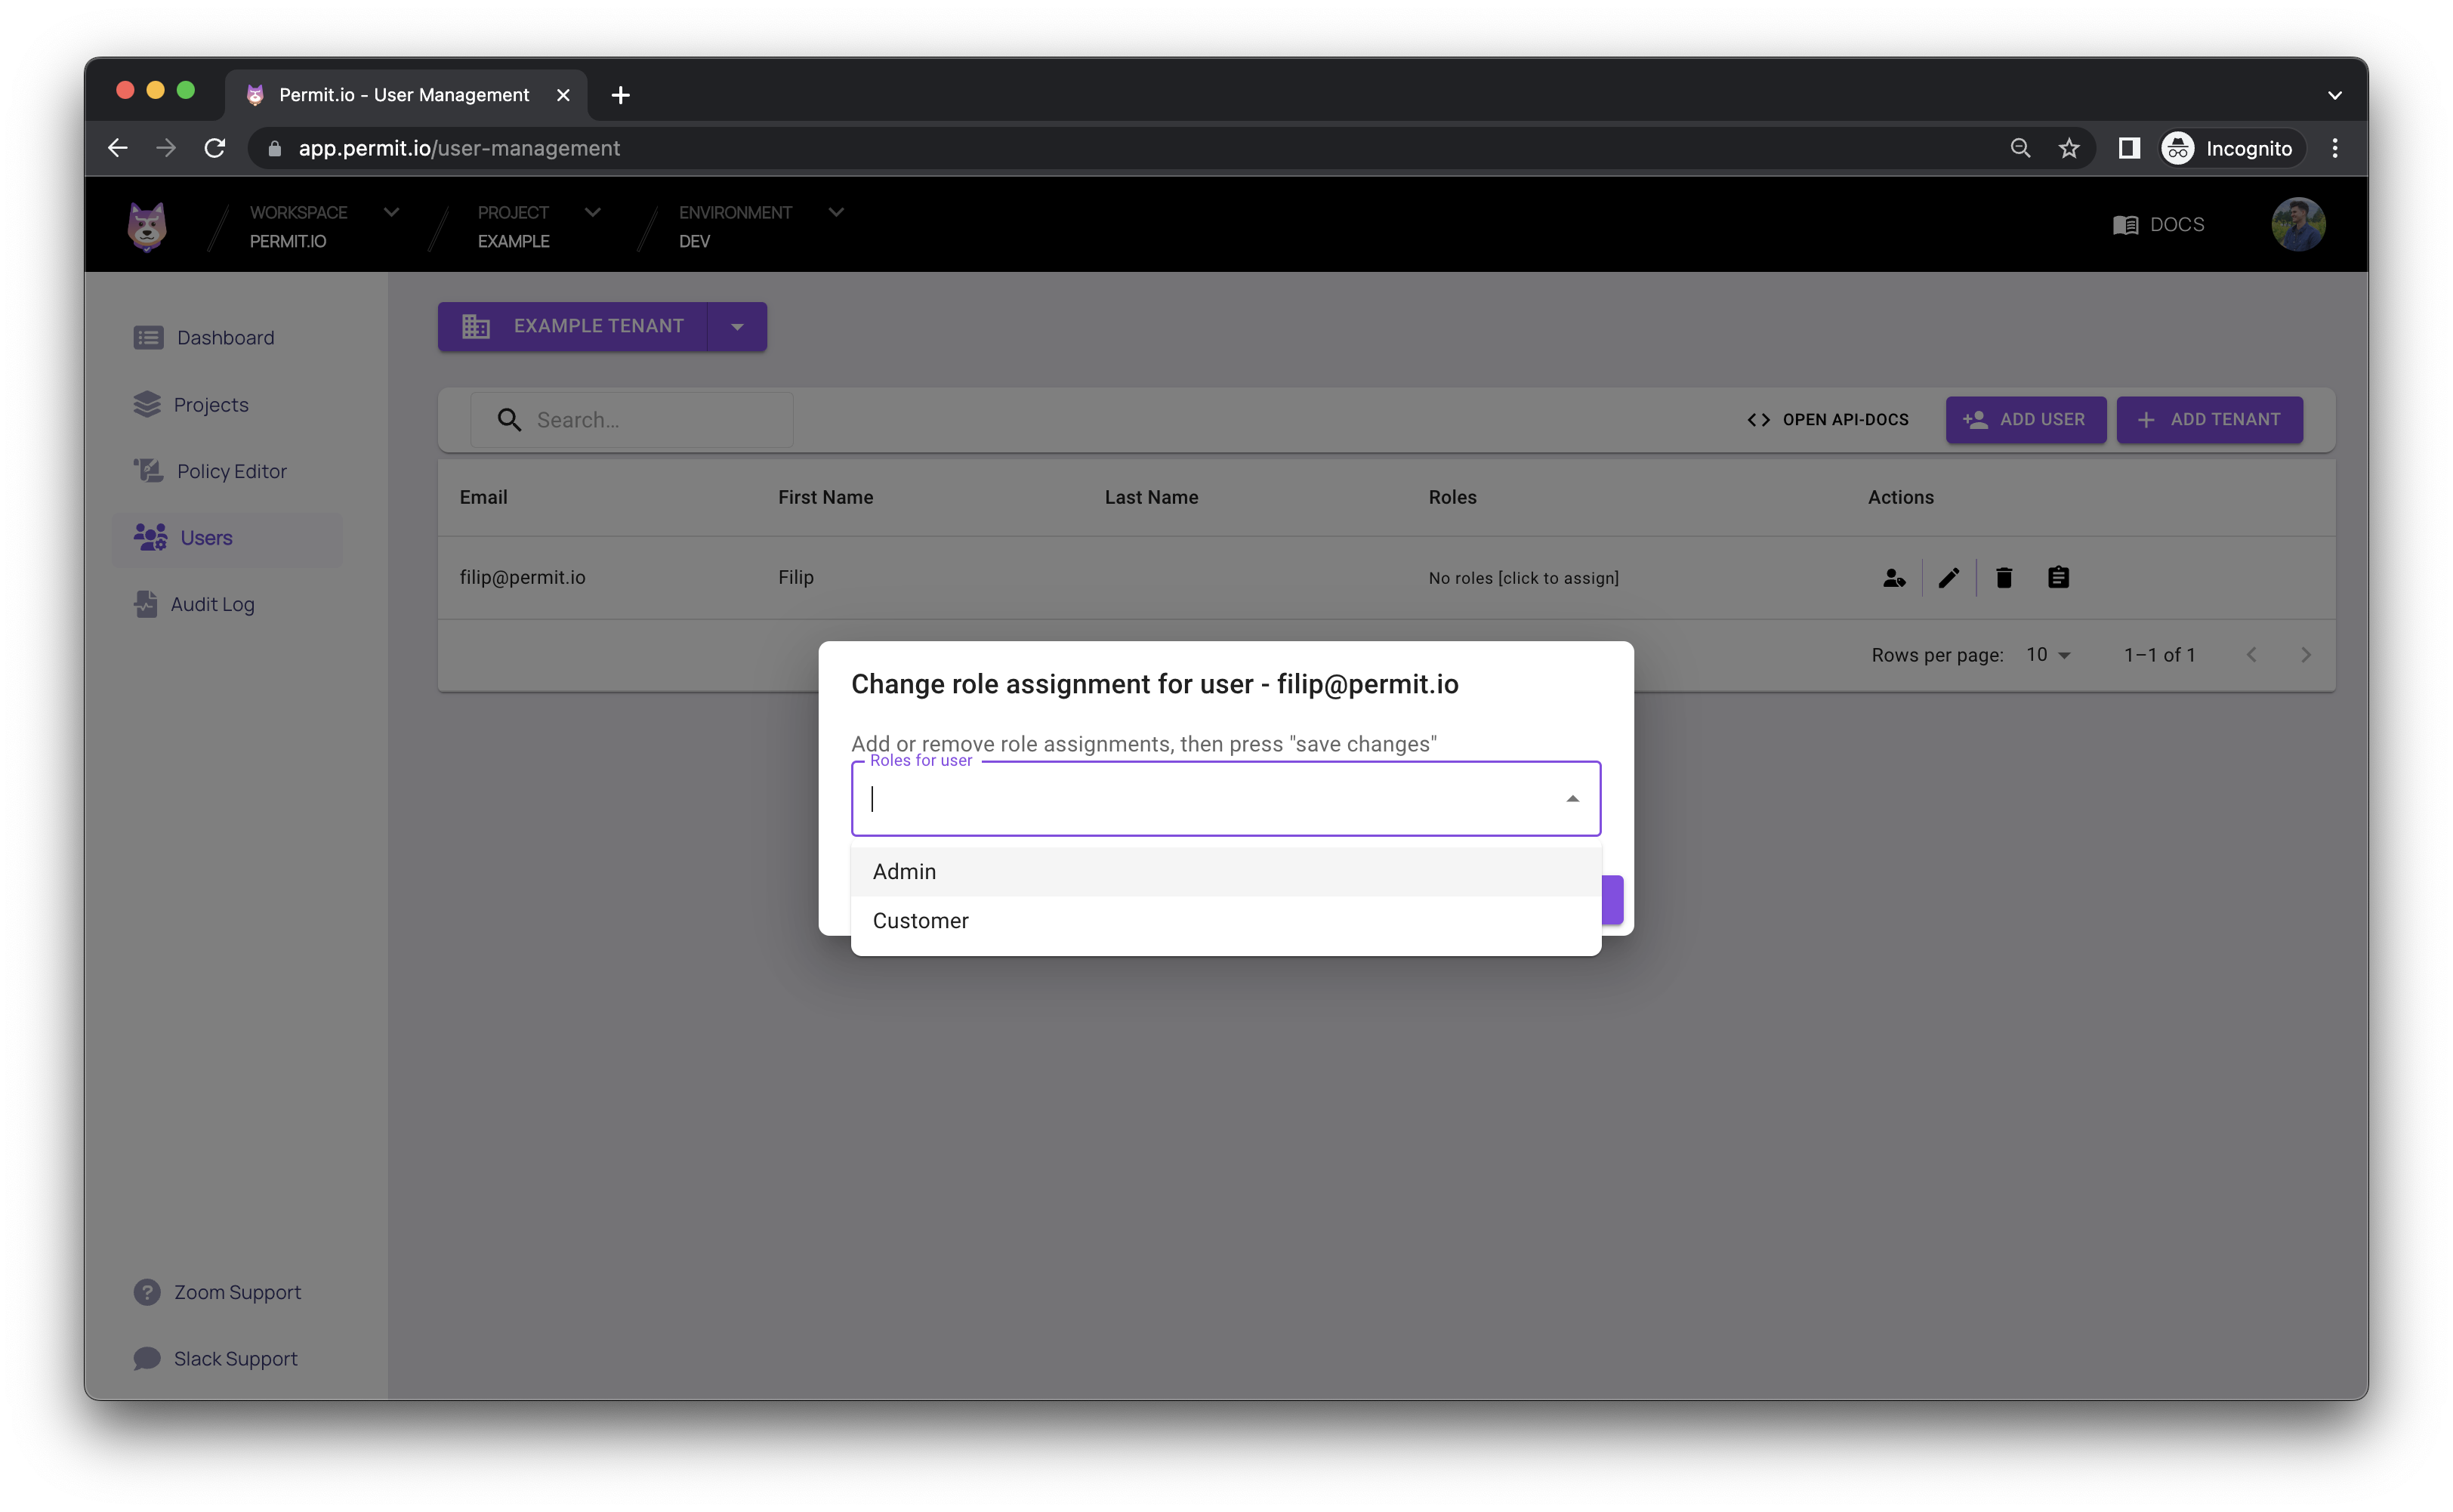
Assigning Roles to Users
Now that all our roles as defined with the correct permissions, we need to assign the specific roles to individual users within our company.
The users

Assigning a role to a user
A user with the admin role
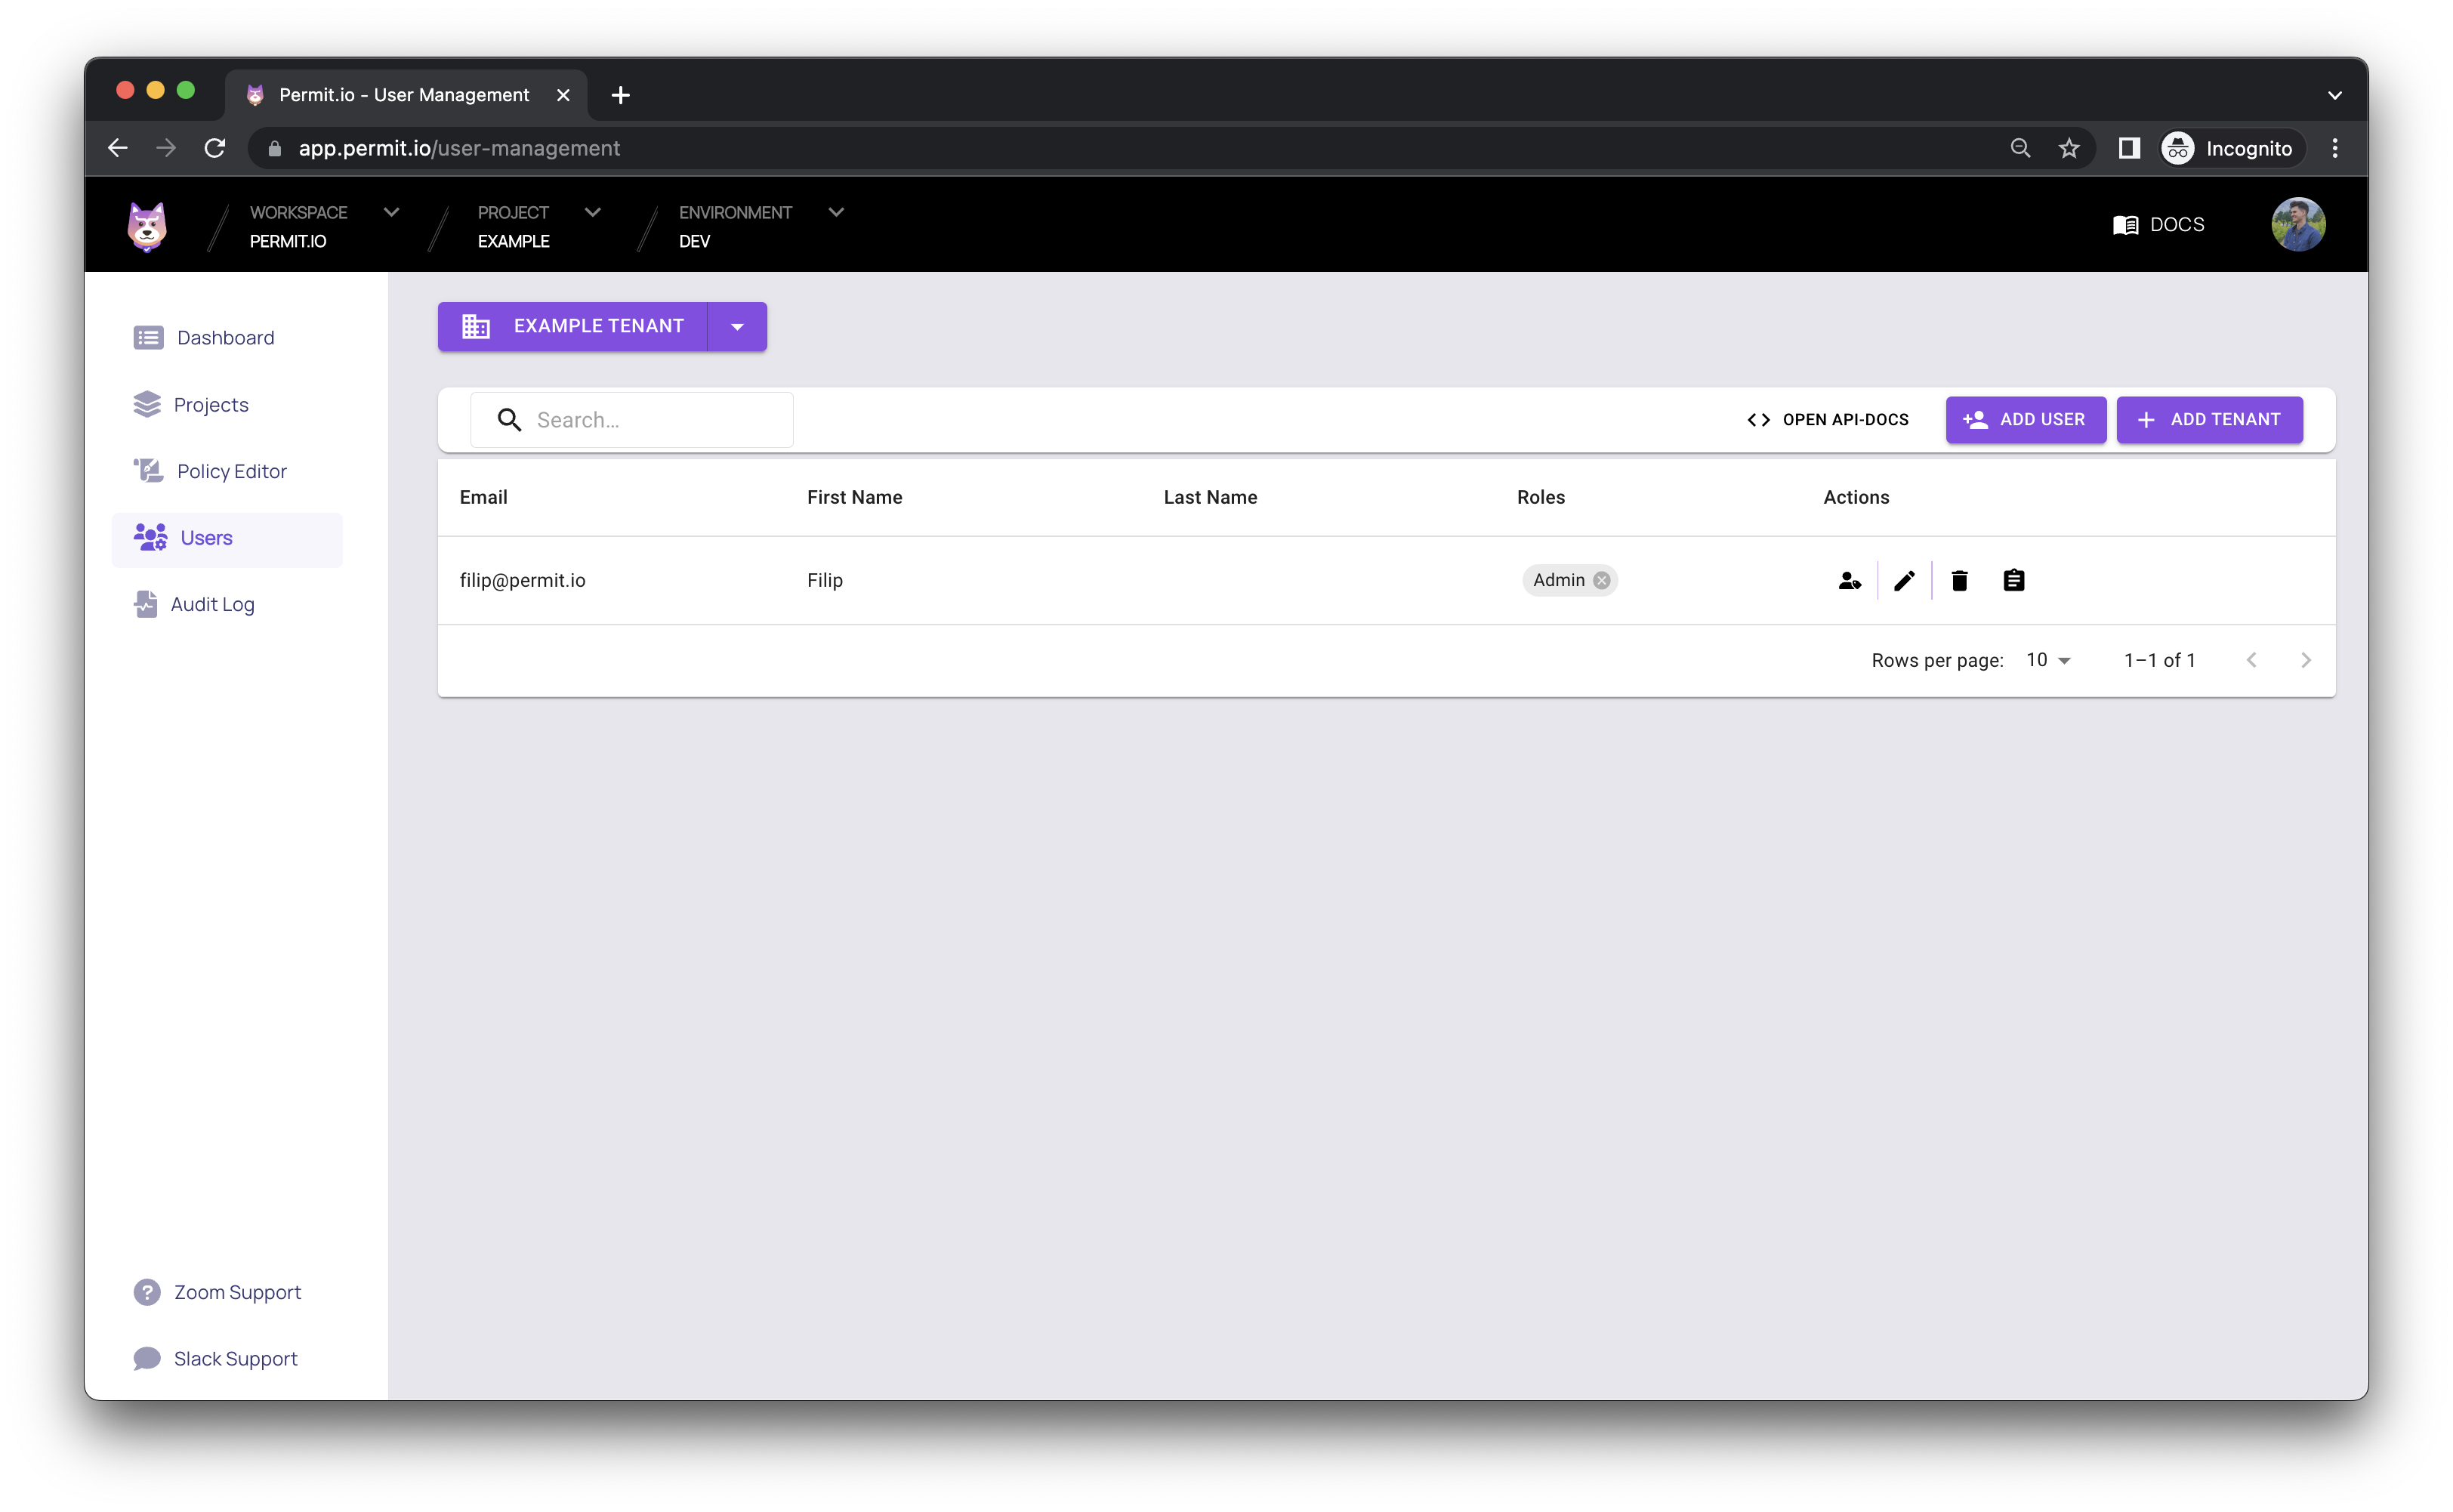
Congratulations! You have created a simple RBAC Policy!